Roasted Thanksgiving Turkey with the Best Homemade Gluten Free Gravy
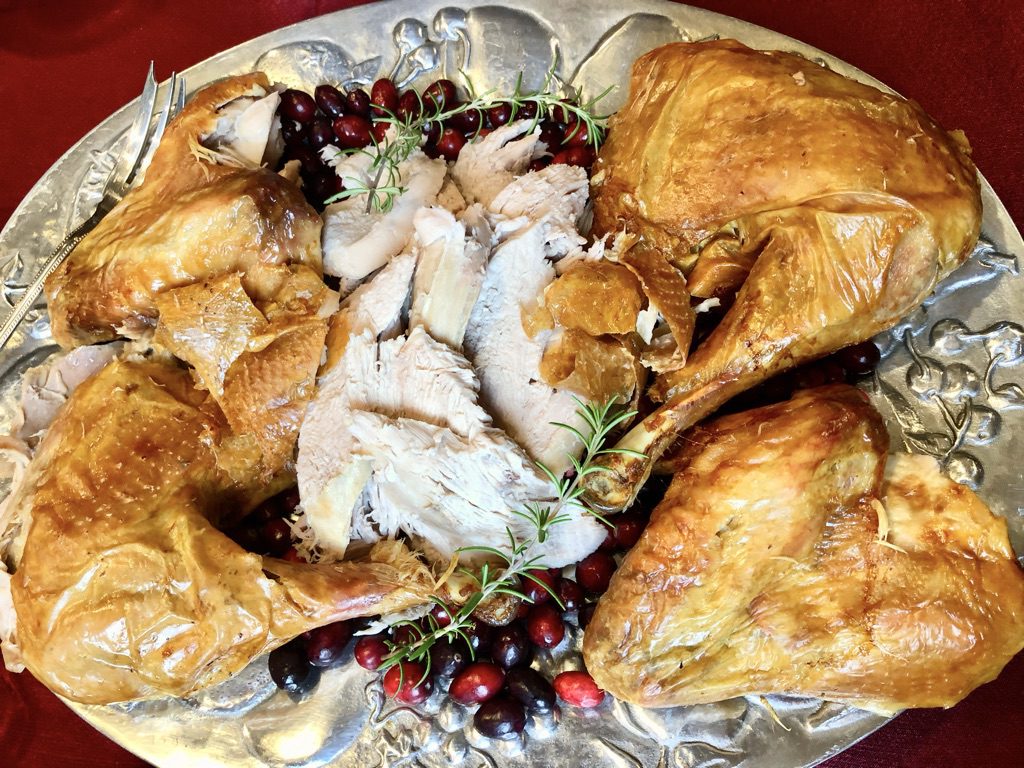
Don’t be intimidated by the length of this recipe…remember it’s a twofer…Roast Turkey AND Homemade Gluten Free Gravy. The roast turkey directions will leave you with a turkey that is perfectly cooked…that’s right, no dried white meat for you! And while 99% of gravies are made with flour, this rich and delicious gravy is made with cornstarch which makes it gluten free. Roasted Thanksgiving Turkey with Homemade Gluten Free Gravy is backed by 60+ years of my mom’s cooking and entertaining experience. She basically ran a turkey hotline each Thanksgiving and now I’m sharing the intel and secret tips with you!!
Jump to RecipePrepping and Cooking the Turkey
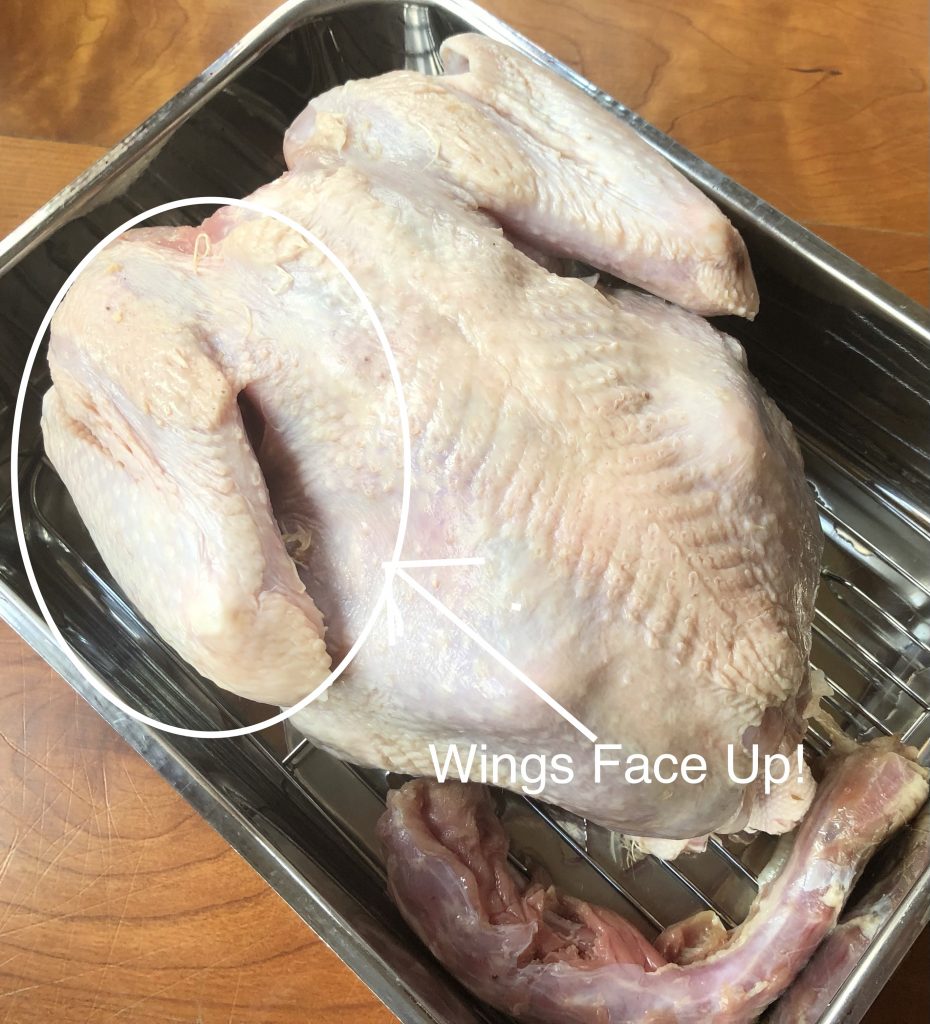
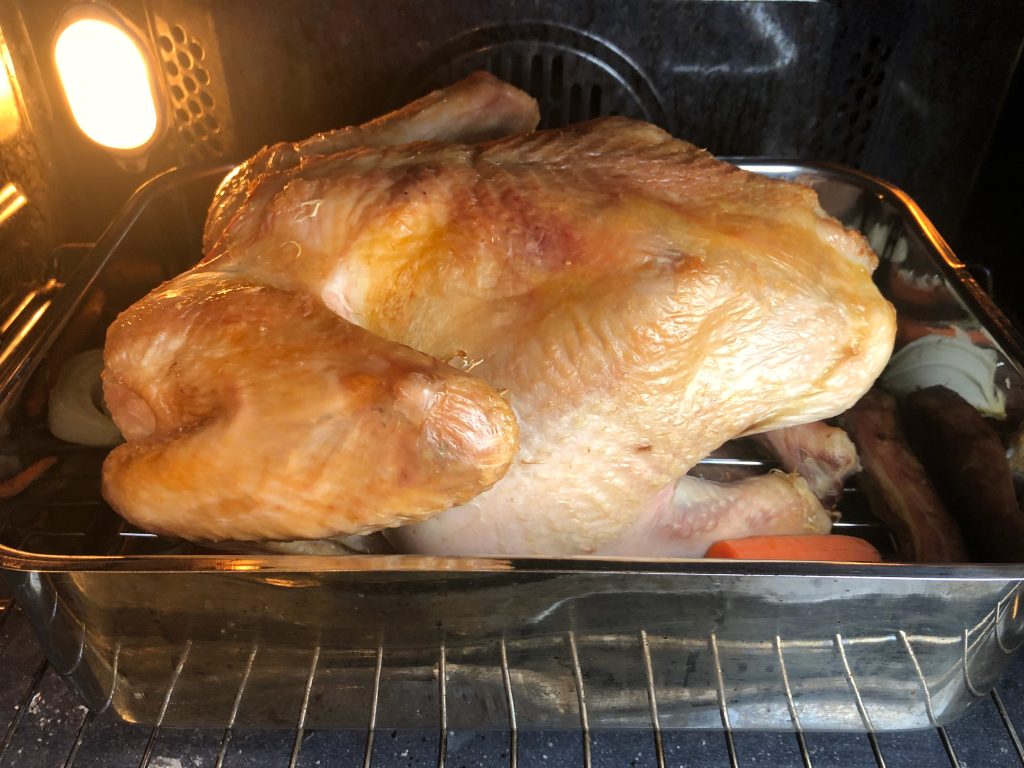
Take turkey out of fridge 2 hours before roasting and set aside. Before putting turkey in the pan, remove contents of cavity, reserving neck and gizzard (if included) for the pan drippings. Trim turkey of excess skin (but don’t trim too much because you want enough drippings in the pan to make the gravy). Then thoroughly pat dry with a paper towel which allows for crispier skin. Preheat oven to 350 degrees on Roast setting if you have it, otherwise Bake setting. Next place turkey in a roasting pan large enough to comfortably fit the turkey on a rack and allow for vegetables on the bottom. Place neck and gizzard (if included) in the bottom of the pan. Then add roasting rack and place turkey BREAST-SIDE DOWN. (You’ll know it’s breast-side down if the wings are facing up and the legs are on the bottom!). Cook turkey for 1/2 hour at 350 degrees, uncovered.
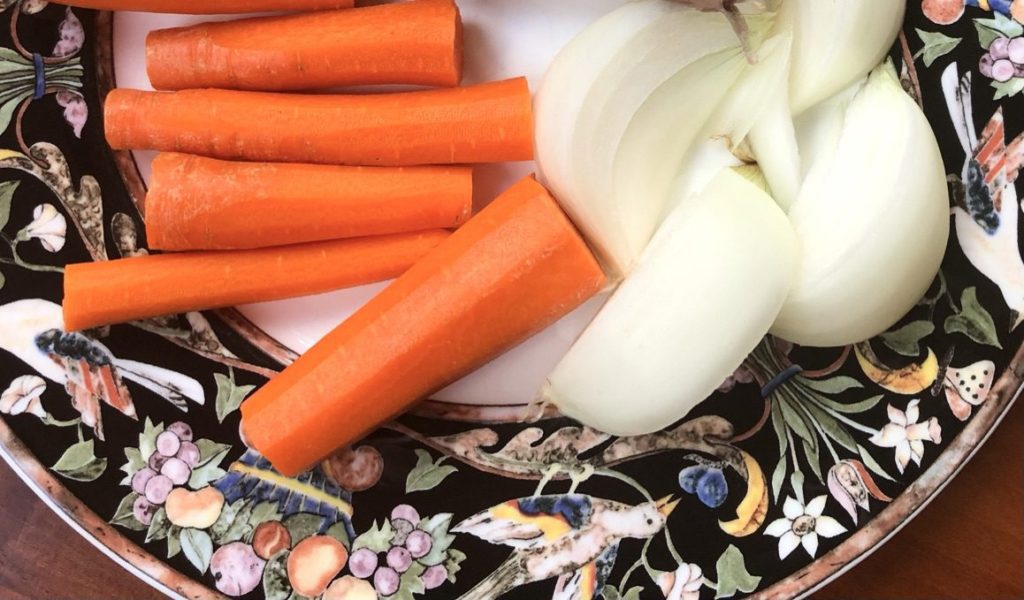
While turkey is cooking prepare carrots and onions. After 1/2 hour, reduce oven temperature to 325 degrees for the remainder of the time. Allow turkey to cook for 1 1/2 hours before carefully placing carrots and onions in the bottom of the turkey pan with the neck and gizzard (if included) and continue cooking uncovered for another 1 1/2 hours or so. Total cooking time is approximately 3 1/2 hours (but start checking for doneness at two hours 45 mins using an instant-read thermometer, 165 degrees for dark meat.) The only way to really know when the turkey is fully cooked is to USE AN INSTANT READ THERMOMETER!
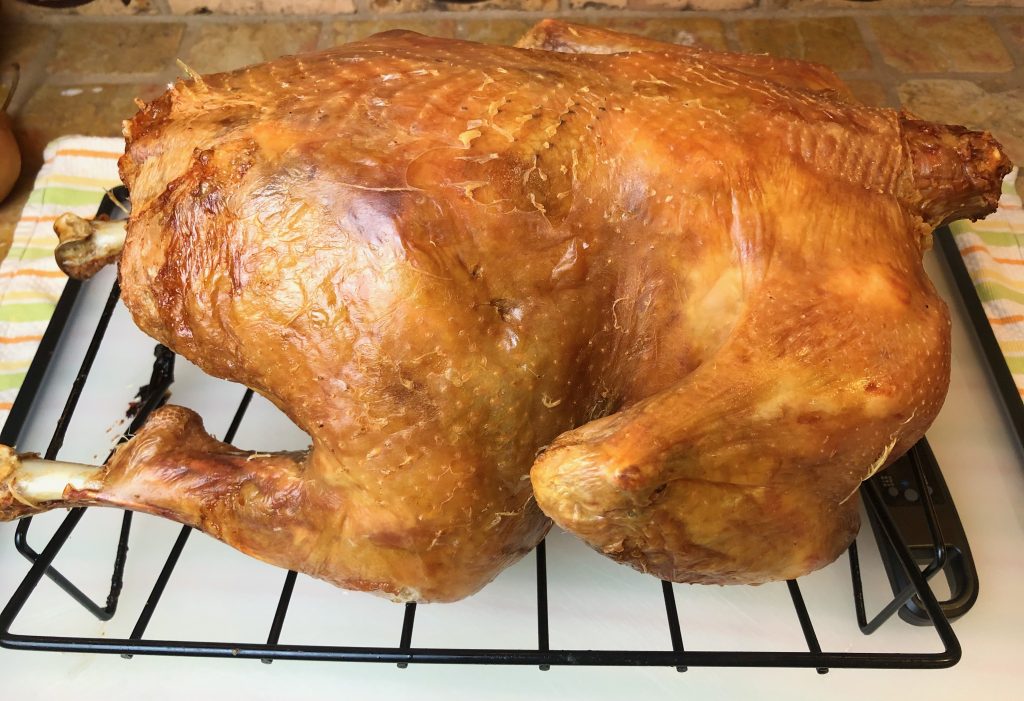
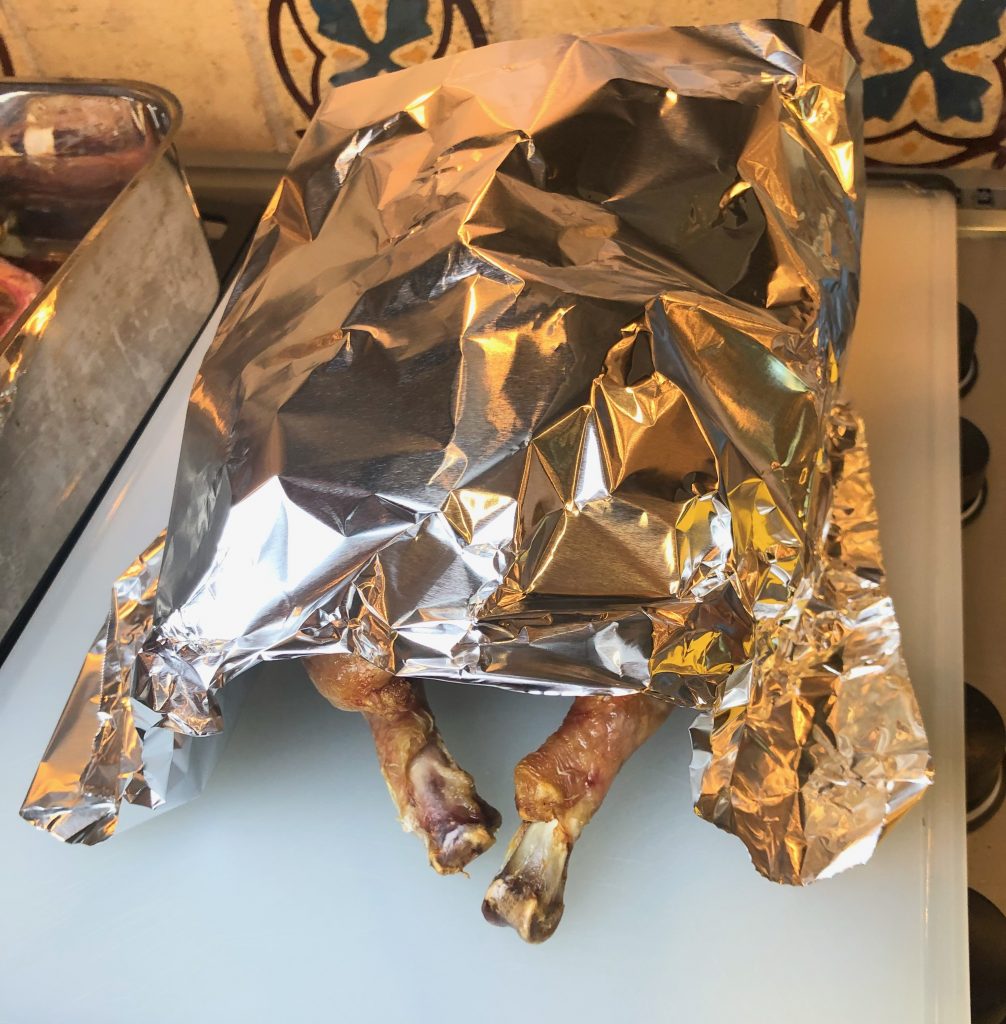
Remove turkey from the oven. Transfer turkey to a large platter or cutting board with grooves to catch any liquid. If carving the turkey at the table, let it rest breast up. (Set pan with drippings aside. Drippings will be used to make the gravy). Then tent the turkey with foil. Let rest for 45 minutes. The turkey will stay warm for a couple of hours, so be patient and let it rest for best results.
The Gravy
Making the gravy is a two-part process. Part 1 is making the gravy base which can be done 1-2 days in advance.
Part 1 – Making the Gravy Base (Do Ahead)
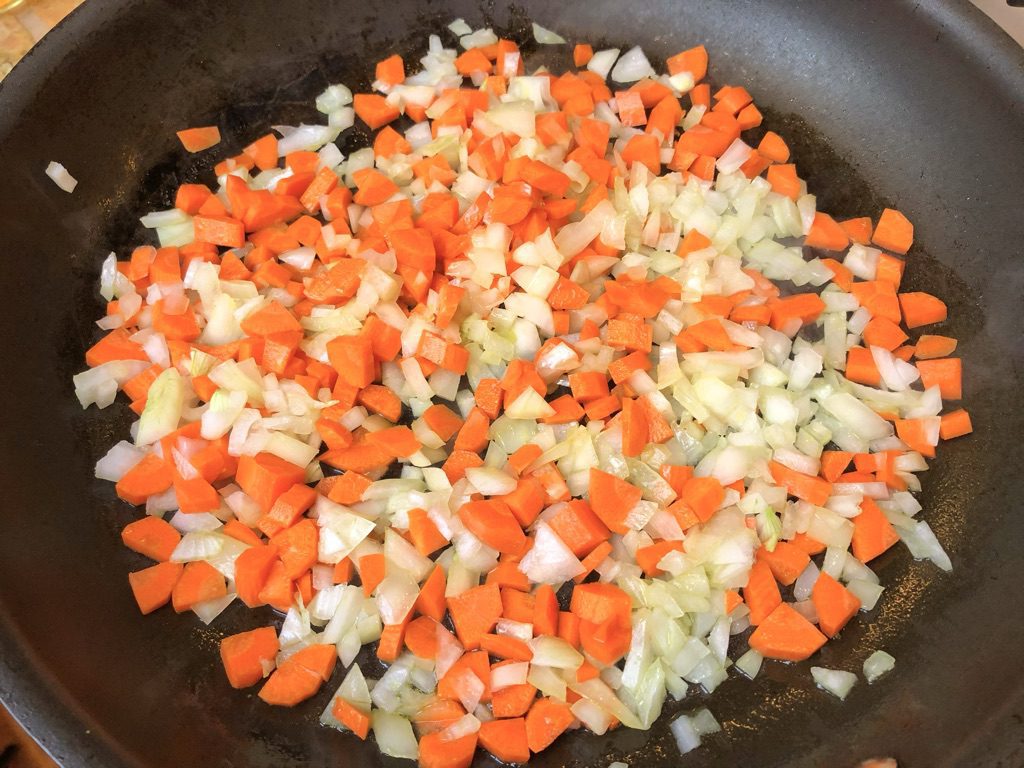
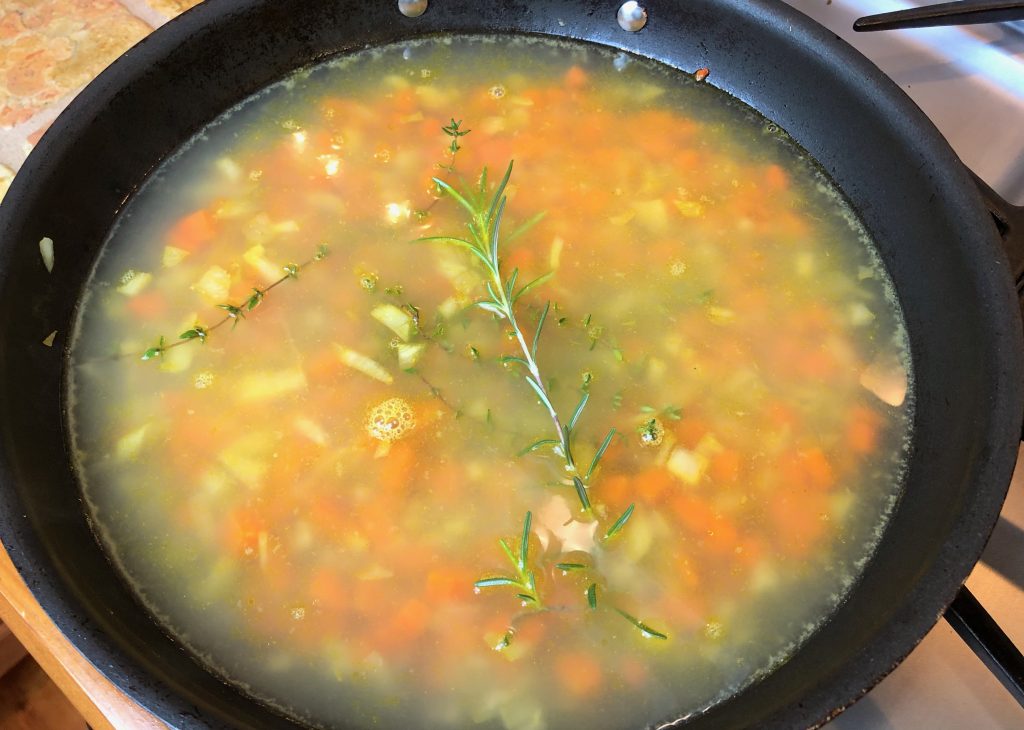
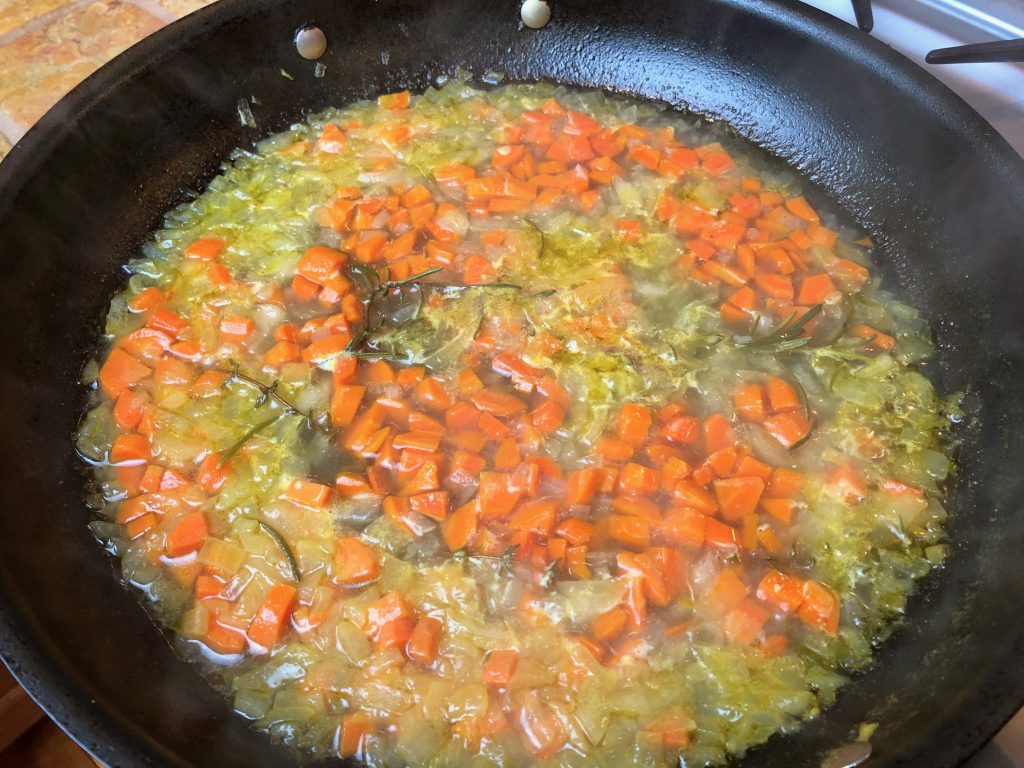
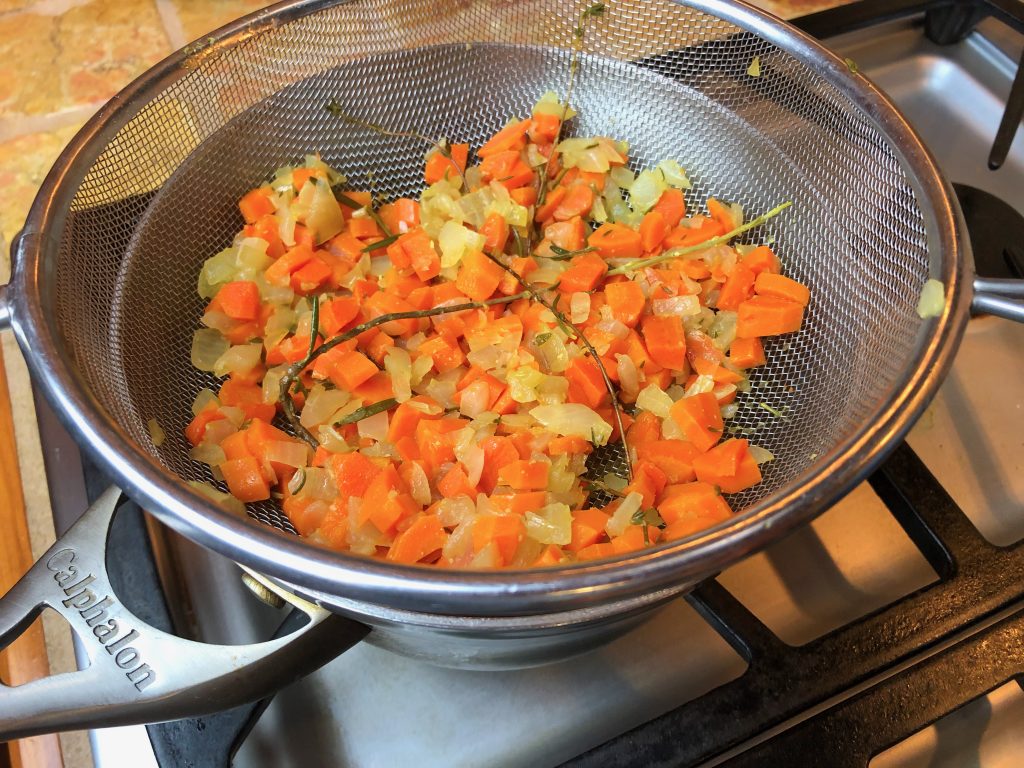
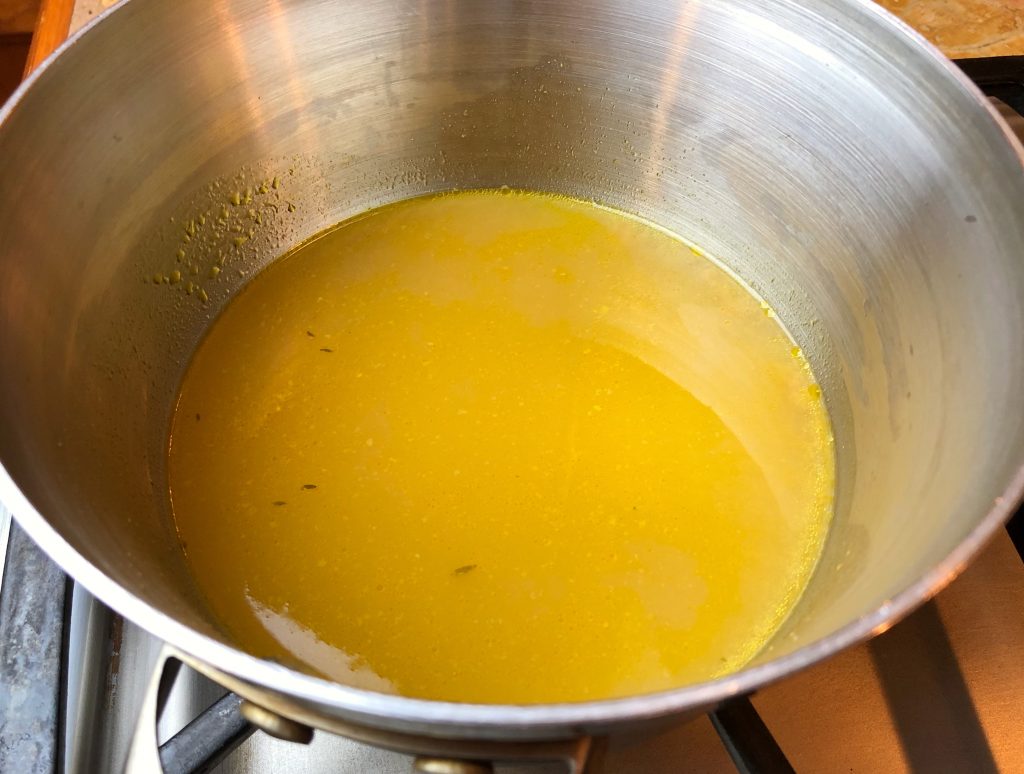
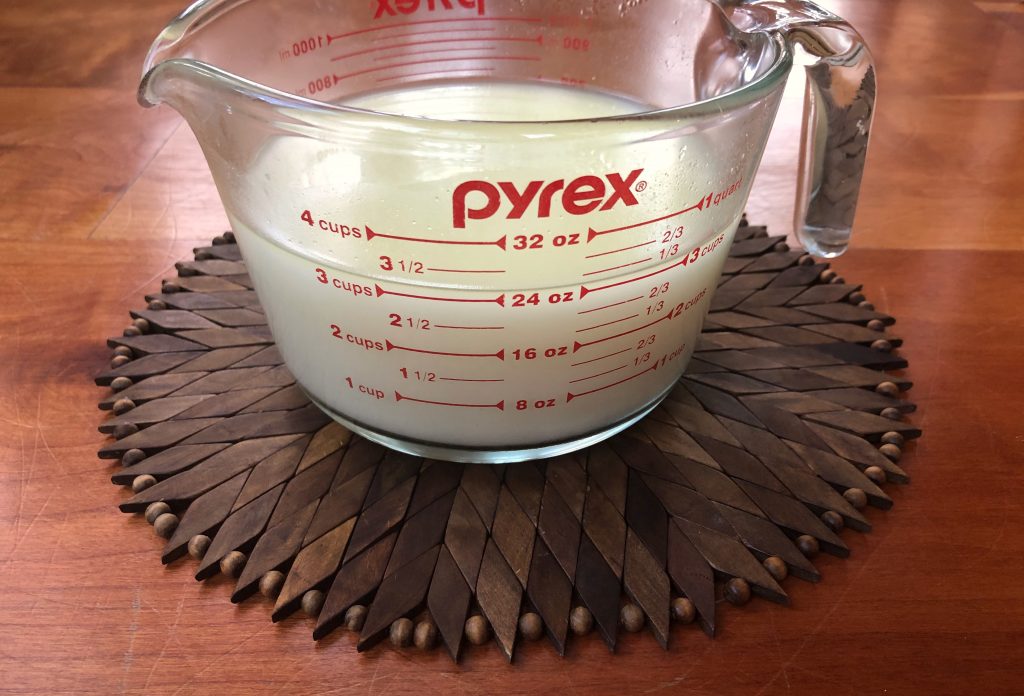
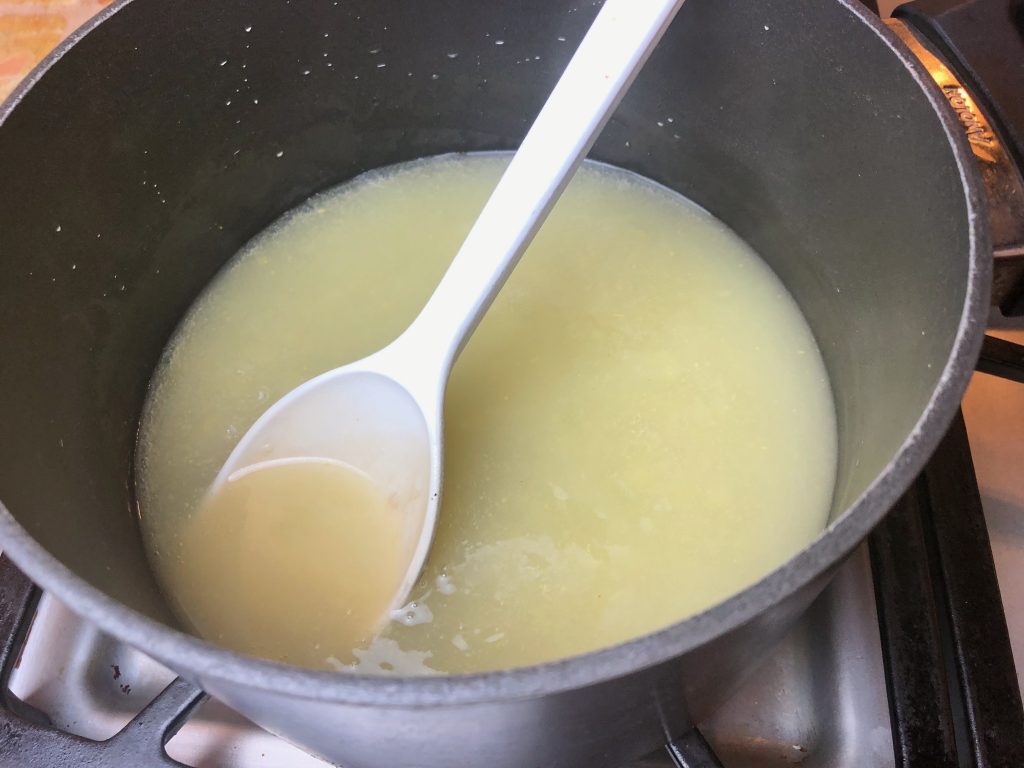
Sauté onions and carrots in a large pan on medium-high heat until lightly browned. Then add broth, thyme/rosemary and white wine or vermouth to the carrots and onions. Lower heat and simmer for 20 minutes until significantly reduced. Strain broth over another medium saucepan and press gently on veggies to remove all the broth. Discard the veggies. Combine 5 tablespoons cornstarch with 5 tablespoons cold broth or water*. (This is called making a Slurry). Heat strained broth over low heat (broth should be at a simmer) and slowly add slurry mixture stirring constantly. Heat may need to be adjusted to keep at a simmer. Thoroughly mix until broth thickens, approx 5 minutes. Let cool and set aside. Place gravy base in a container, cover and refrigerate.
Part 2 – Making the Gravy with the Turkey Drippings
Part 2 is combining the gravy base with the turkey drippings the day of cooking the turkey.
Let gravy base come to room temp for one hour before adding to the turkey drippings on the day you are roasting your turkey.
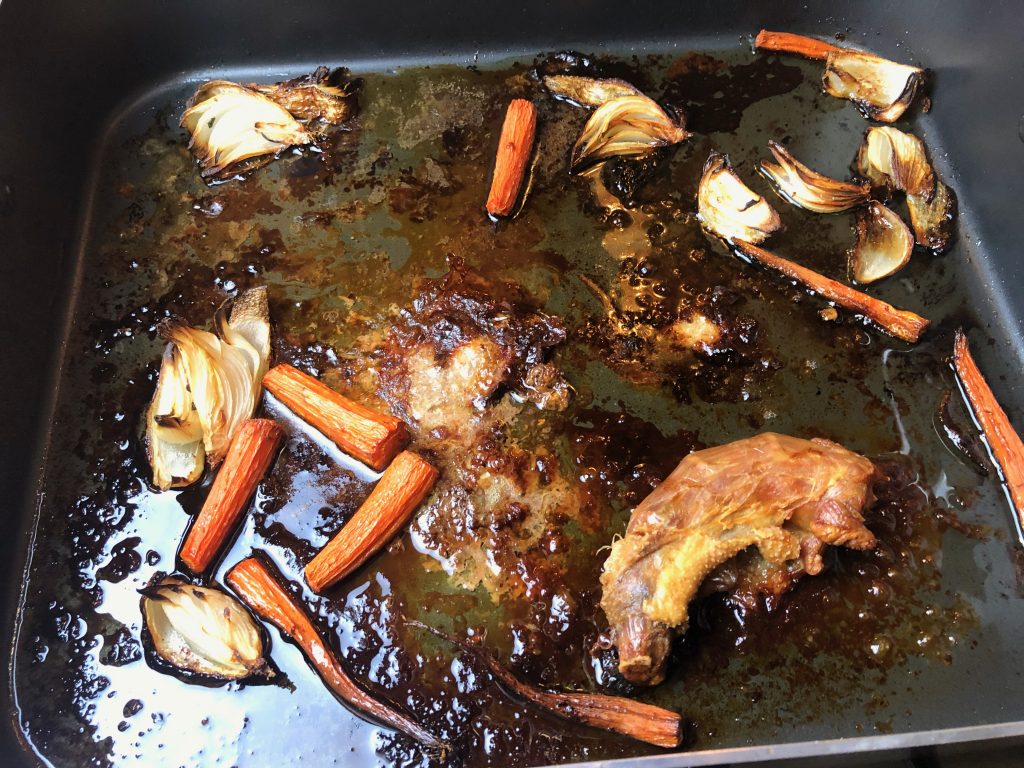
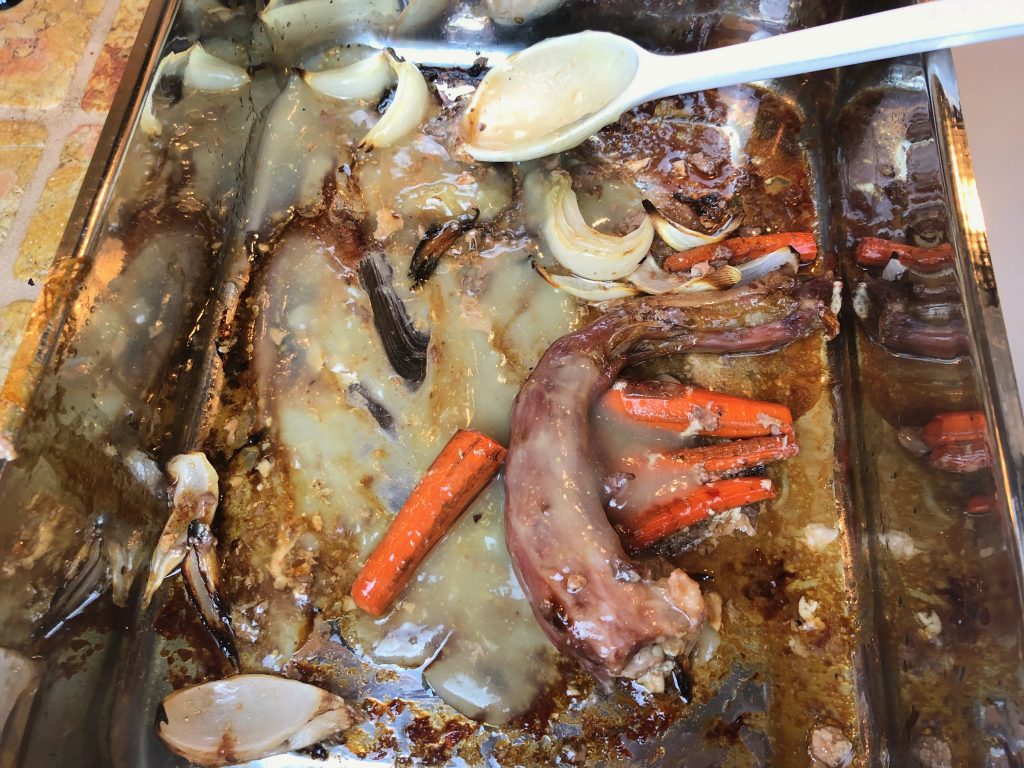
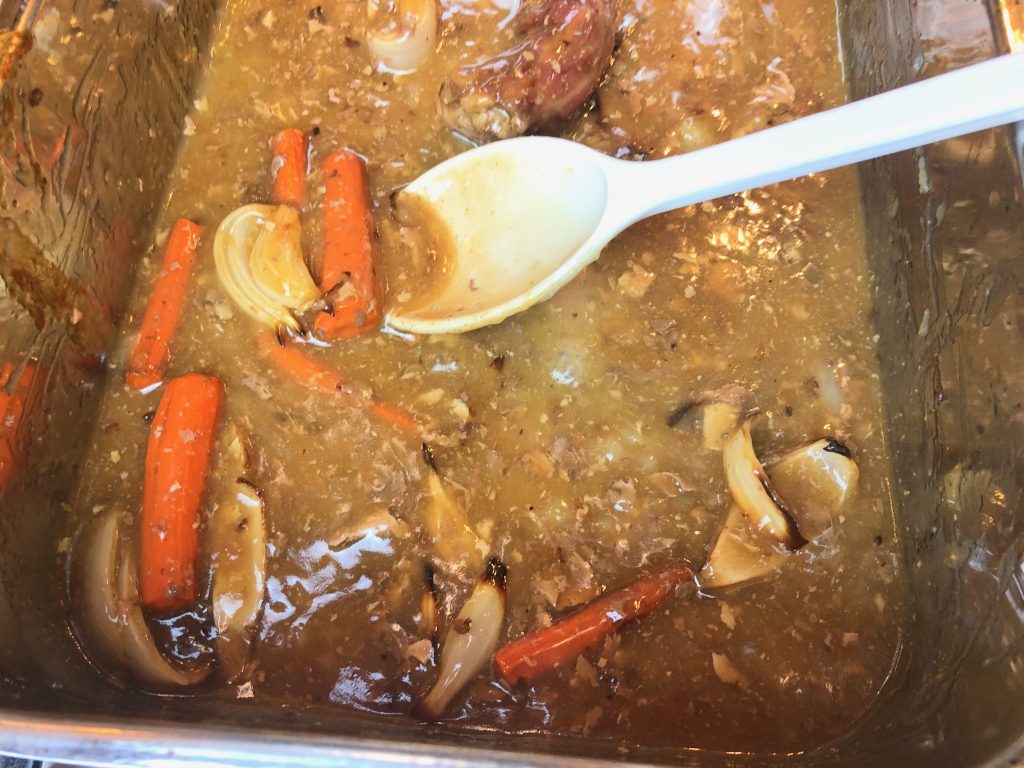
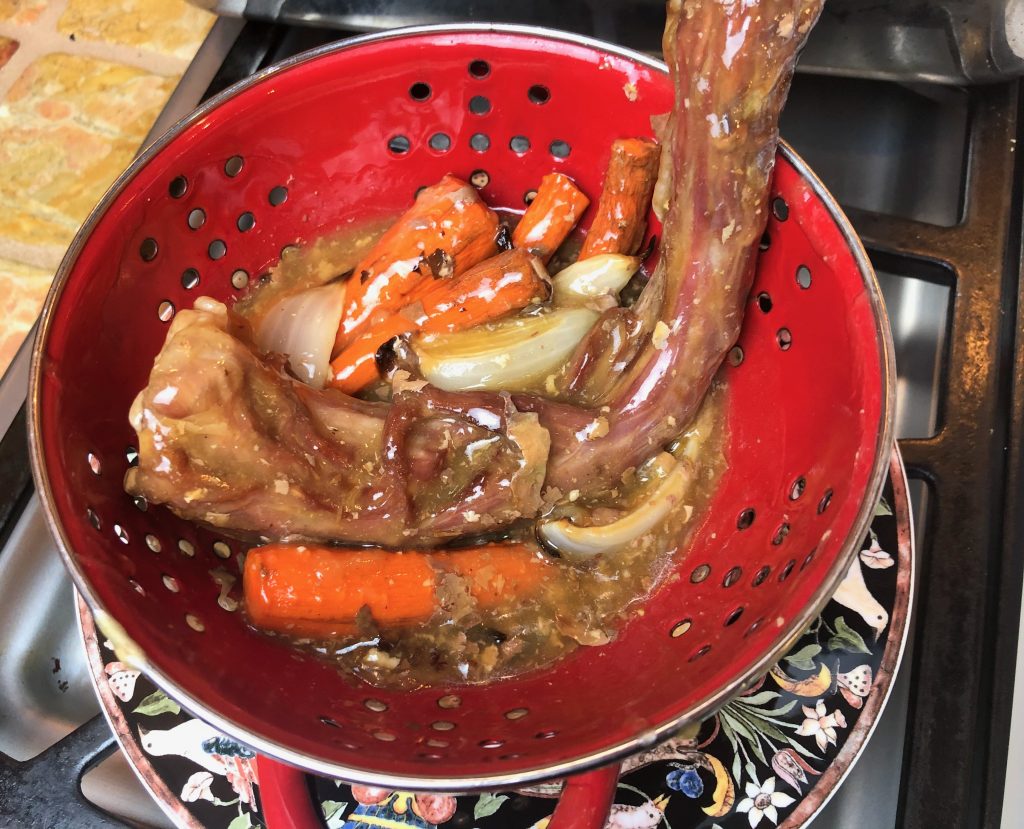
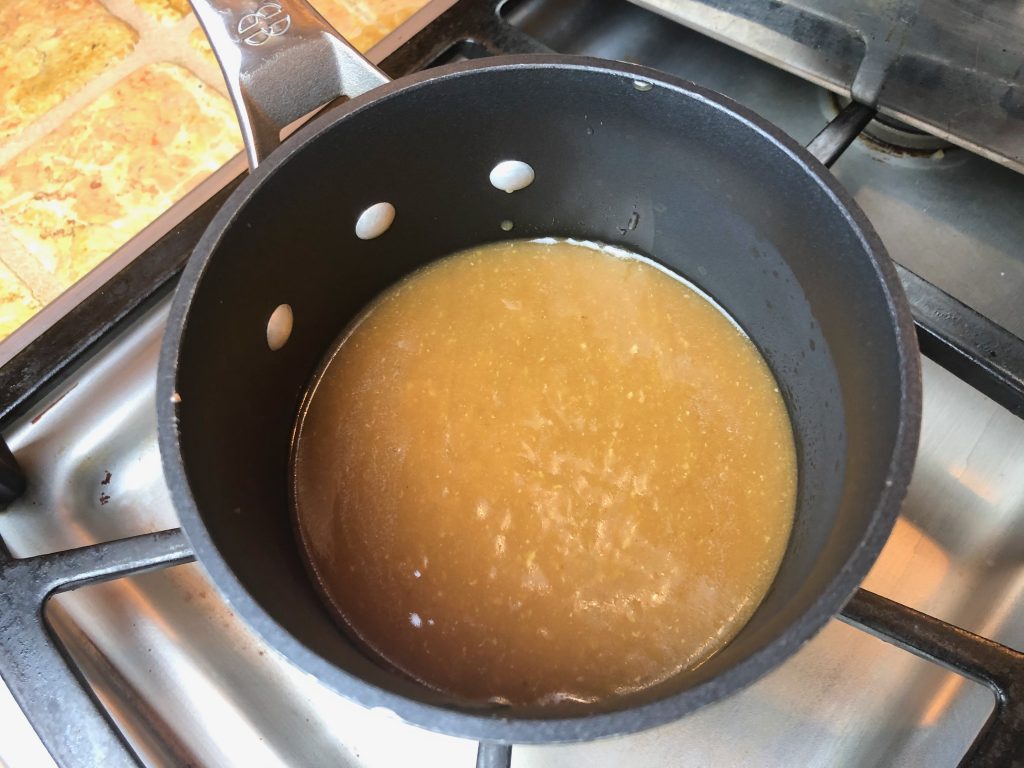
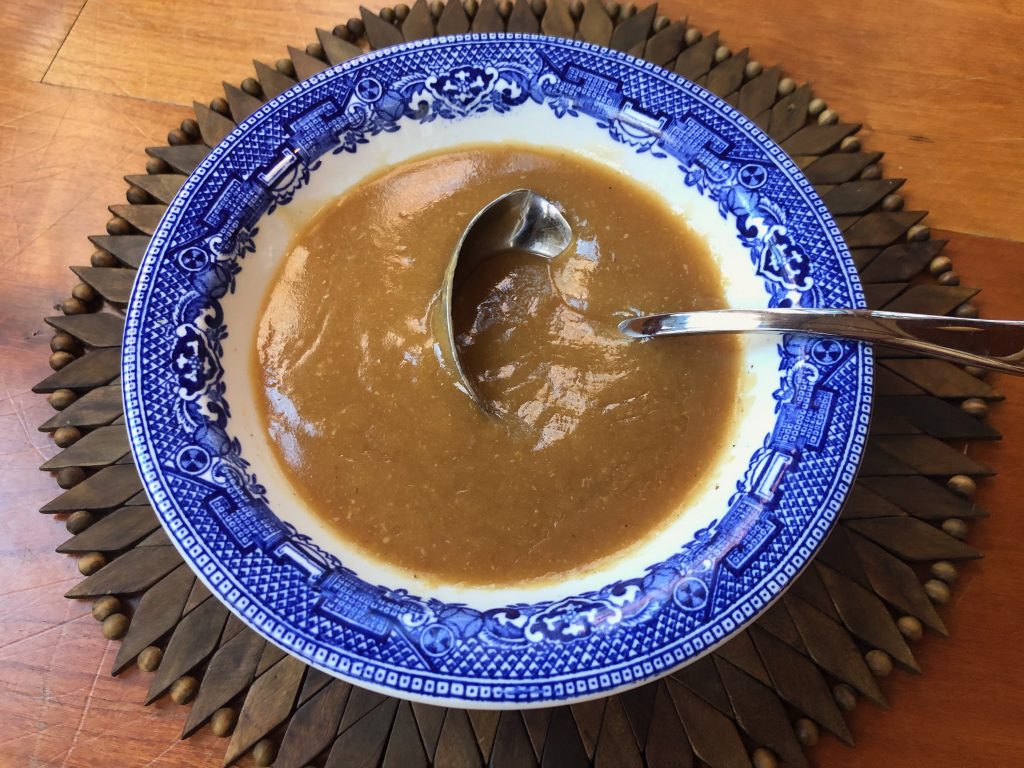
Once the turkey is done cooking, it’s time to defat the turkey drippings by tilting the pan and skimming the fat using a spoon. I find it’s best to have someone hold the pan for you while doing this. Leave some fat in the pan for a tastier gravy. Then heat two burners to medium-low temp and place the turkey pan directly on the burners. Add the gravy base slowly (one cup at a time) to the pan scraping up all of the cooked bits and stir constantly (this is called deglazing the pan). For a rich brown-colored gravy, you may not need to use all of the Gravy Base. Adjust burner temperatures as necessary to keep gravy at a simmer. Taste and season with salt if necessary. The final step is to strain the gravy into a saucepan. Reheat gravy when ready to serve.
Roasted Thanksgiving Turkey with the Best Homemade Gluten Free Gravy
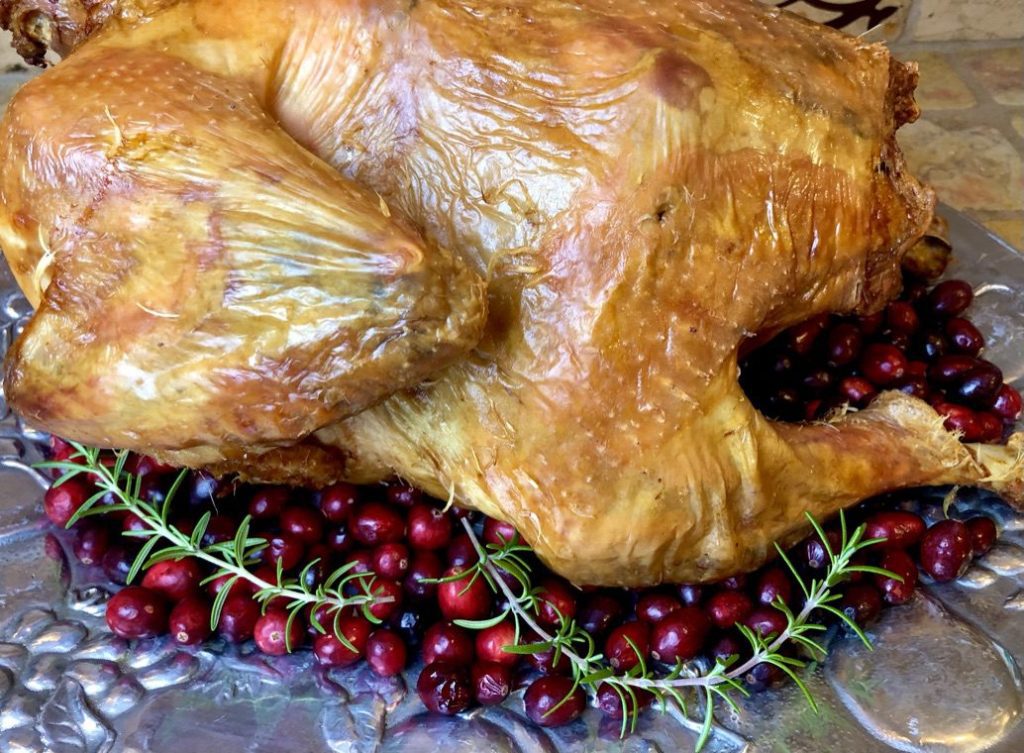
You have arrived at the finale! Congratulations!! All that is left to do is carve and serve the Turkey and Gravy. Garnish your platter as desired, place gravy in a large gravy boat (or two) and serve! Happy Thanksgiving!!
Be sure to have a look in the NOTES section of the recipe for additional tips!
Roasted Thanksgiving Turkey with the Best Homemade Gluten Free Gravy
Equipment
- Instant-Read Thermometer, Very Large Roasting Pan with Rack Insert
Ingredients
Whole Roasted Turkey
- 20 lb fresh brined or kosher turkey
- 5-6 medium-sized carrots peeled or scrubbed, and cut into quarters
- 2-3 large onion, white or yellow peeled and cut into 4 wedges through root
Gluten Free Homemade Gravy
- 5 cups chicken broth or stock
- 5 tablespoons cornstarch combined with 5 tablespoons COLD chicken broth or water*
- 2 tablespoons olive oil
- 2 cups white or yellow onion diced, approx 1 medium-sized onion
- 2 cups carrots(orange) diced, approx 5-6 medium-sized carrots
- 1 cup white wine (the real stuff!) or dry vermouth
- couple of sprigs of thyme or rosemary or 1/2 teaspoon dried thyme/rosemary
- turkey drippings
Instructions
Whole Roasted Turkey
- Take turkey out of fridge 2 hours before roasting and set aside.**
- Before putting turkey in the pan, remove contents of cavity, reserving neck and gizzard (if included) for the pan drippings, if included. Trim turkey of excess skin (but don't trim too much because you want enough drippings in the pan to make the gravy). Then thoroughly pat dry with a paper towel which allows for crispier skin.
- Preheat oven to 350 degrees on Roast setting if you have it, otherwise Bake setting.
- Next place turkey in a roasting pan large enough to comfortably fit the turkey on a rack and allow for vegetables on the bottom.
- Place neck and gizzard (if included) in the bottom of the pan. Then add roasting rack and place turkey BREAST-SIDE DOWN. (You’ll know it’s breast-side down if the wings are facing up and the legs are on the bottom!)
- Cook turkey for 1/2 hour at 350 degrees, uncovered. While turkey is cooking prepare carrots and onions.
- After 1/2 hour, reduce oven temperature to 325 degrees for the remainder of the time. Allow the turkey to cook for 1 1/2 hours before carefully placing carrots and onions in the bottom of the turkey pan with the neck and gizzard (if included) and continue cooking uncovered for another 1 1/2 hours or so. Total cooking time is approximately 3 1/2 hours (but start checking for doneness at two hours 45 mins using an instant-read thermometer inserted into the dark meat; temperature should be 165 degrees). The only way to really know when the turkey is fully cooked is to USE AN INSTANT READ THERMOMETER!
- Remove turkey from the oven. Transfer turkey to a large platter or cutting board with grooves (to catch any liquid). (Set pan with drippings aside. Drippings will be used to make the gravy). Then tent the turkey with foil. Let rest for 45 minutes. The turkey will stay warm for a couple of hours, so be patient and let it rest for best results.
Gluten Free Homemade Gravy
- Making the gravy is a two-part process. Part 1 is making the gravy base which can be done 1-2 days in advance. Part 2 is combining the gravy base with the turkey drippings the day of cooking the turkey.
Part 1: Gravy Base
- Heat olive oil in a large pan over medium-high heat. Add diced onions and carrots and cook until lightly browned. Then add broth, thyme and white wine or vermouth to the carrots and onions.
- Lower heat and simmer for 20 minutes until significantly reduced. Strain broth over another medium saucepan and press gently on veggies to remove all the broth. Discard the veggies.
- Combine 5 tablespoons cornstarch with 5 tablespoons cold broth or water. (This is called making a Slurry).
- Heat strained broth over low heat (broth should be at a simmer) and slowly add slurry mixture stirring constantly. Heat may need to be adjusted to keep at a simmer. Thoroughly mix until broth thickens, approx 5 minutes. Let cool and set aside.
- Place gravy base in a container, cover and refrigerate.
Part 2 – Combining the Gravy Base with the Turkey Drippings
- Let gravy base come to room temp for one hour before adding to the turkey drippings on the day you are roasting your turkey.
- Once the turkey is done cooking, it's time to defat the turkey drippings by tilting the pan and skimming the fat using a spoon. I find It’s best to have someone hold the pan for you while doing this.
- Leave some fat in the pan for a tastier gravy. Then heat two burners to medium-low temp and place the turkey pan directly on the burners. Add the gravy base slowly (one cup at a time) to the pan scraping up all of the cooked bits and stir constantly (this is called deglazing the pan). For a rich brown-colored gravy, you may not need to use all of the Gravy Base.
- Adjust burner temperature as necessary to keep gravy at a simmer. Taste and season with salt if necessary. The final step is to strain the gravy into a saucepan. Reheat gravy when ready to serve.
The Finale: Serving the Turkey and Gravy
- You're now ready to carve your turkey. Garnish as desired, place gravy in a large gravy boat (or two) and serve! Happy Thanksgiving!!
Notes
Recipe from my mom!
If you like this GFchow recipe, you may also like these recipes. Orange-Glazed Cornish Hens, No-Fuss Crispy Roast Chicken, and Peruvian-Style Roast Chicken with Cilantro-Lime Mayo.
GLUTEN FREE DISCLAIMER
The recipes you find here are considered by me to be gluten free. However, it is up to you to make sure the ingredients you use are gluten free. Whenever possible, I will list specific brands of ingredients that I use, but always be sure to check the labels yourself to verify the item is gluten free.
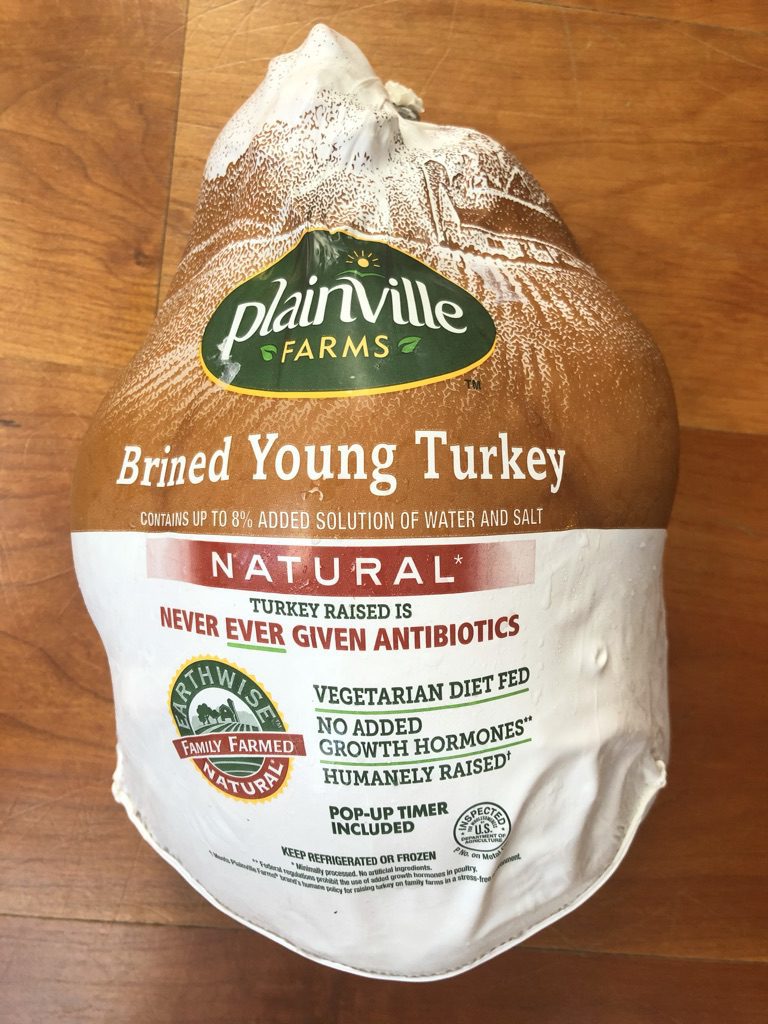
Best turkey ever! Don’t be intimidated by the long recipe. It is well worth following. I never bought a brined turkey before, but it not only did all the flavoring for me, but also shortened the cook time. The gravy can not be beat! It made all the side dishes better!
I feel the same way!