Crispy Whole Duck à l’Orange
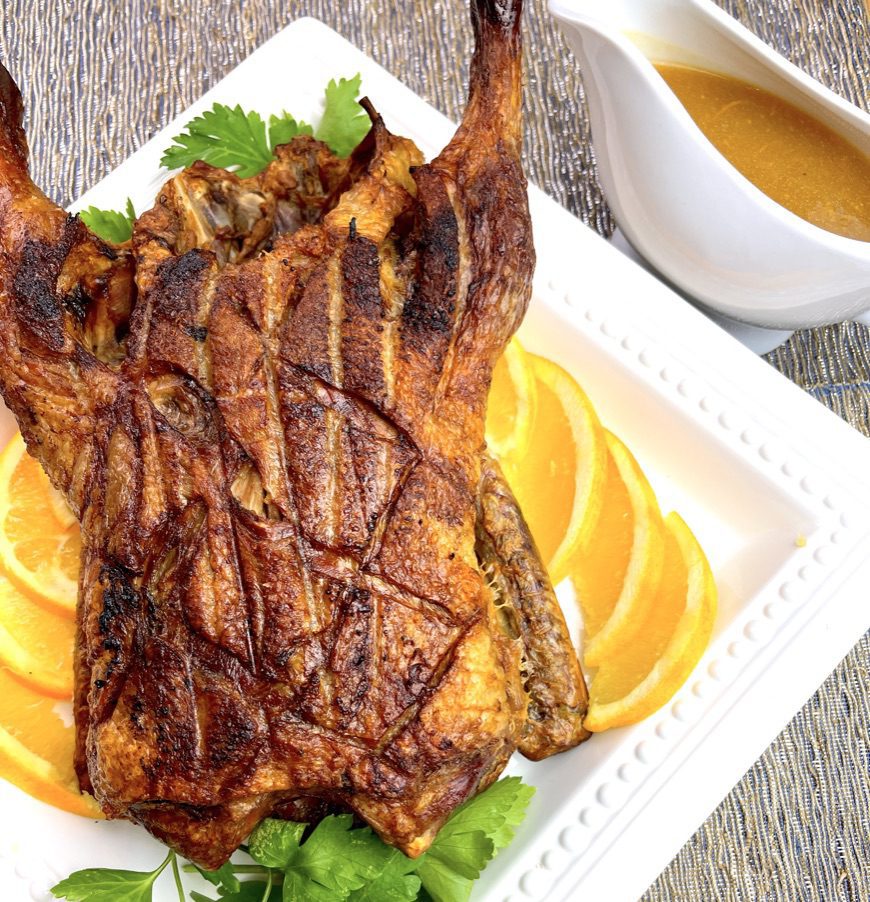
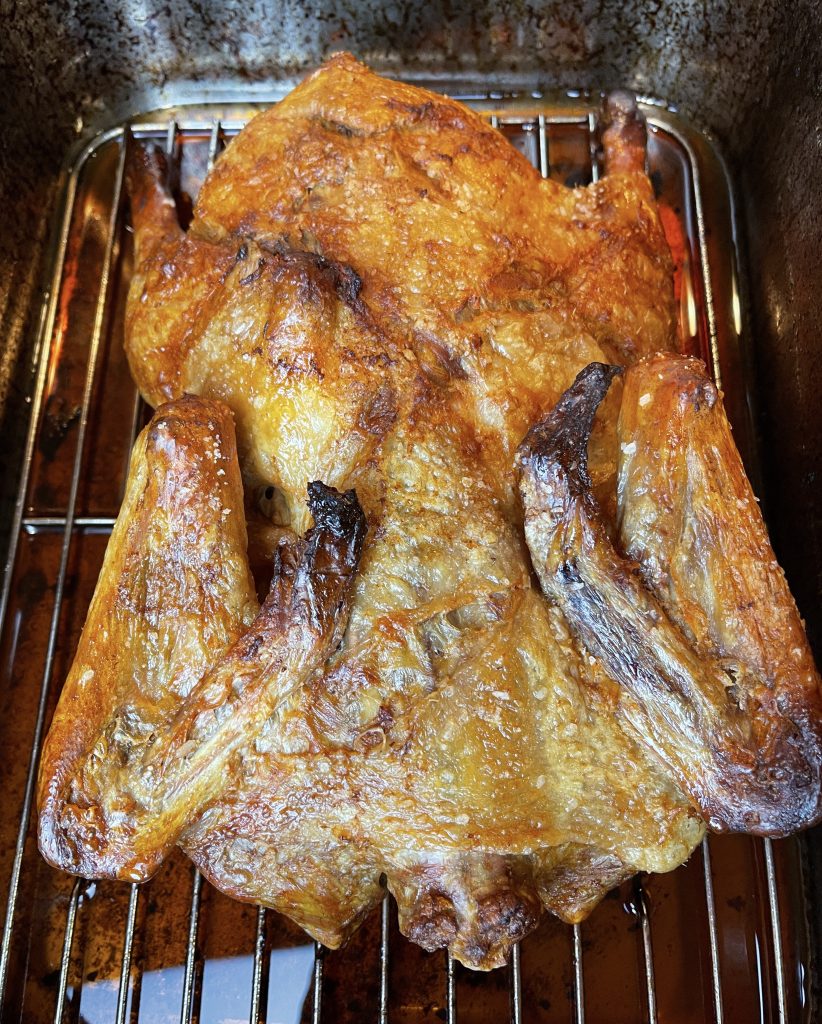
I know exactly what you’re thinking…no way Michelle, it’s too complicated to make Crispy Whole Duck à l’Orange. I’m here to tell you with 100% certainty that you CAN do this and it’s as easy as roasting a chicken…I promise! And after roasting for one hour and 30 minutes or so, you’ll have succulent duck meat with the crispiest, most delectable skin ever, paired with a luscious, citrusy orange sauce. Often times the most difficult part of this recipe can be finding a market that sells duck!
Jump to RecipeWhole Duck Prep – Scoring the Duck
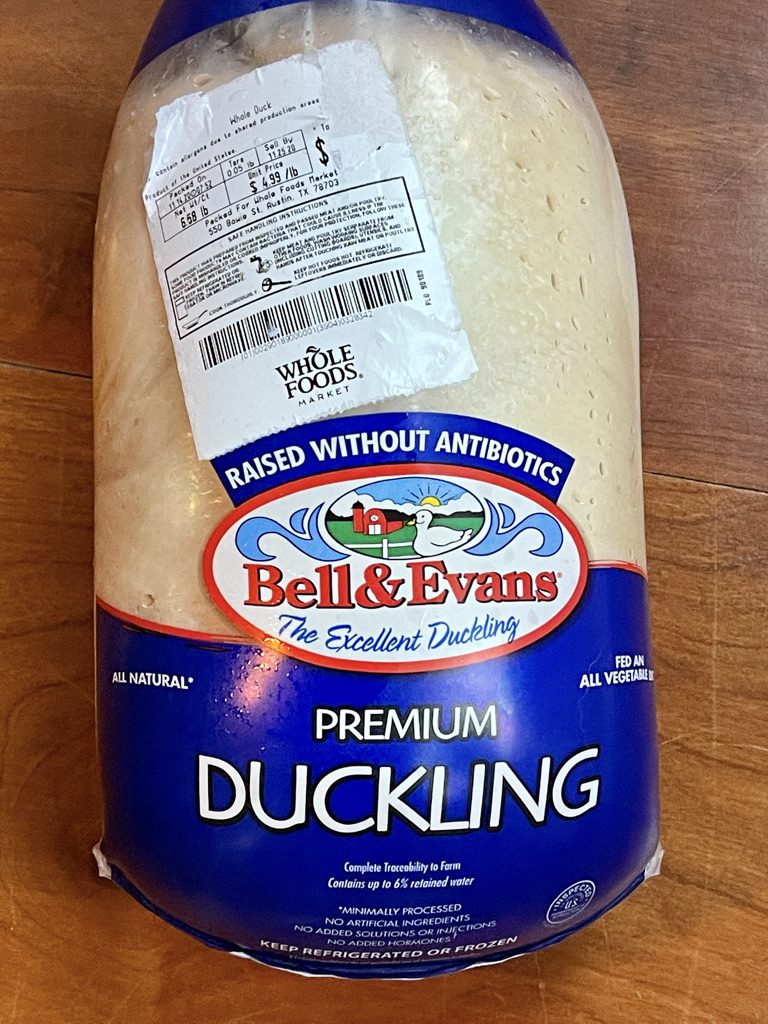
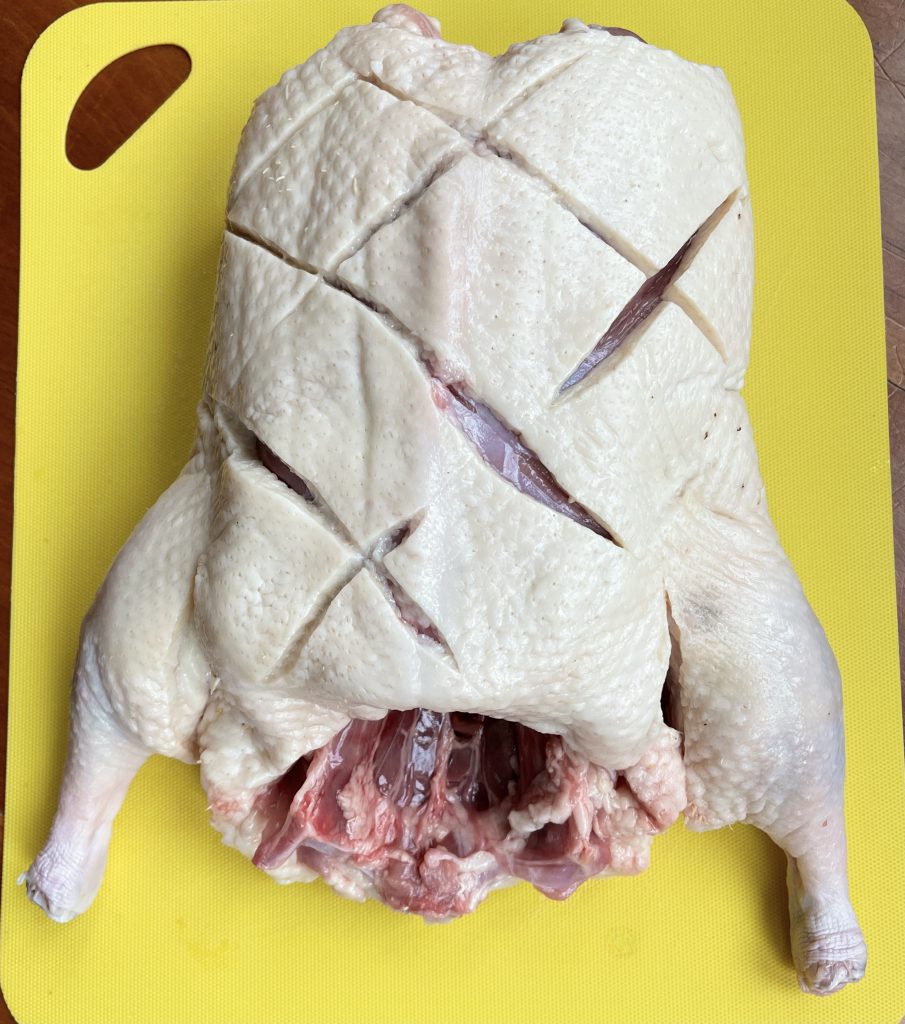
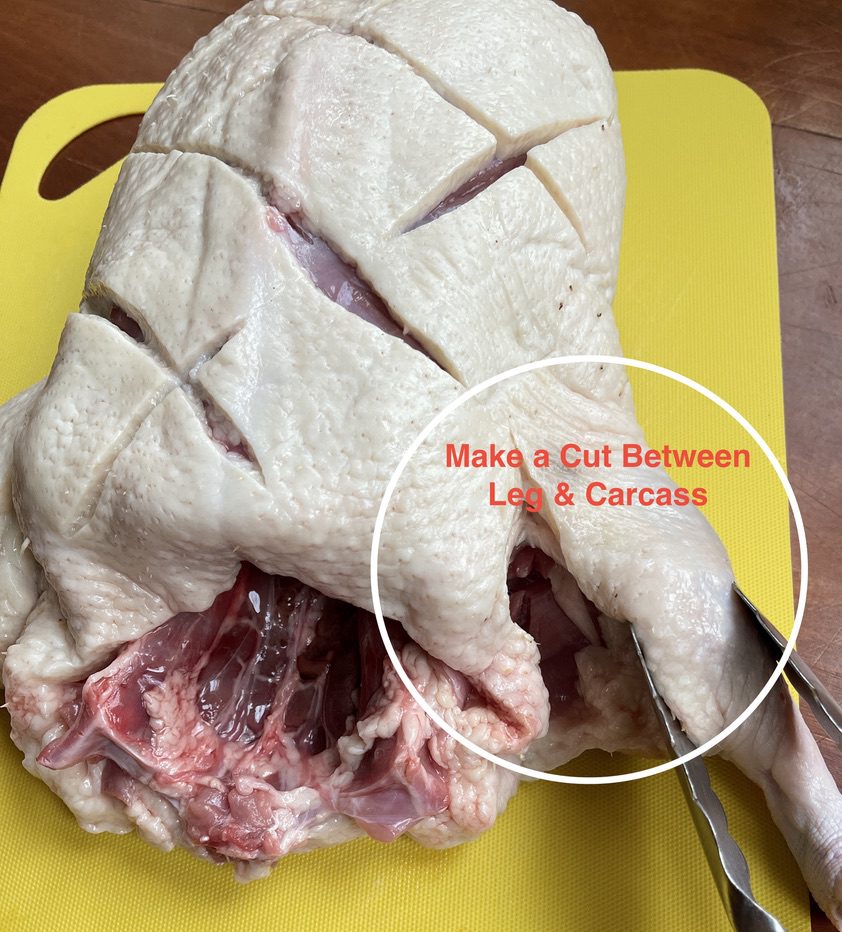
Take duck out of the refrigerator and let rest for 2 hours before cooking. Then remove plastic wrap, rinse, trim, and pat dry. Next, use a very sharp knife to score the duck skin on both sides. Be careful not to cut into the meat, just score the skin. If your knife isn’t sharp enough to easily cut through the skin, use a fork to pierce the skin all over. The scoring (or piercing) of the skin is VERY important because this is what allows the fat to cook-off. It is also helpful to cut down on the leg (when the duck is laying breast side up, the wings will be facing down, see above photo) so that the drumsticks cook more quickly and evenly.
Generously Salt Duck & Place Breast-Side Down in Pan
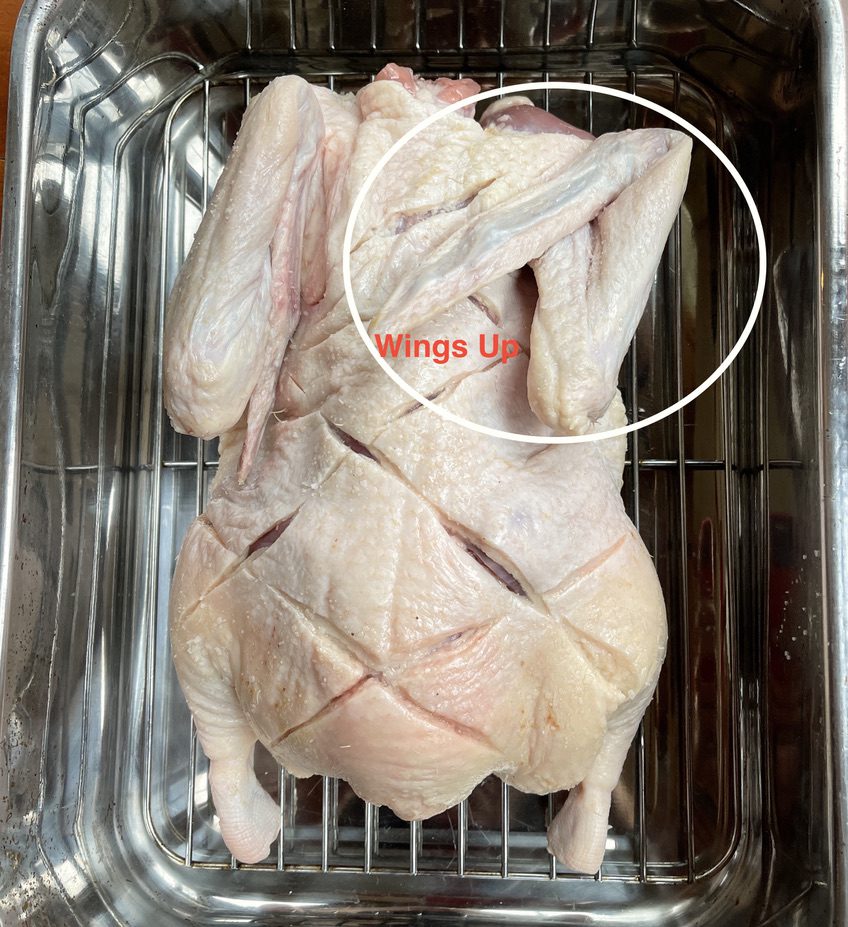
Next, apply a generous sprinkling of salt all over the duck. The salt helps to draw the moisture out as well as season the duck. Feel free to add additional spices to the duck at this point. Then place a rack in the roasting pan (to avoid having the duck cook in its own fat) and spray rack and pan with a non-stick cooking spray (for easier clean up later!) and set the duck BREAST-SIDE DOWN on the rack*.
*You’ll know you have done it correctly if the wings are on top and the drumsticks are touching the bottom of the pan. This is a very important step that enables the juices to flow from the dark meat down into the breast meat which allows for the juiciest meat possible.
Need more explanation? Click here for a very helpful video tutorial on how to prep the duck.
Roasting the Duck
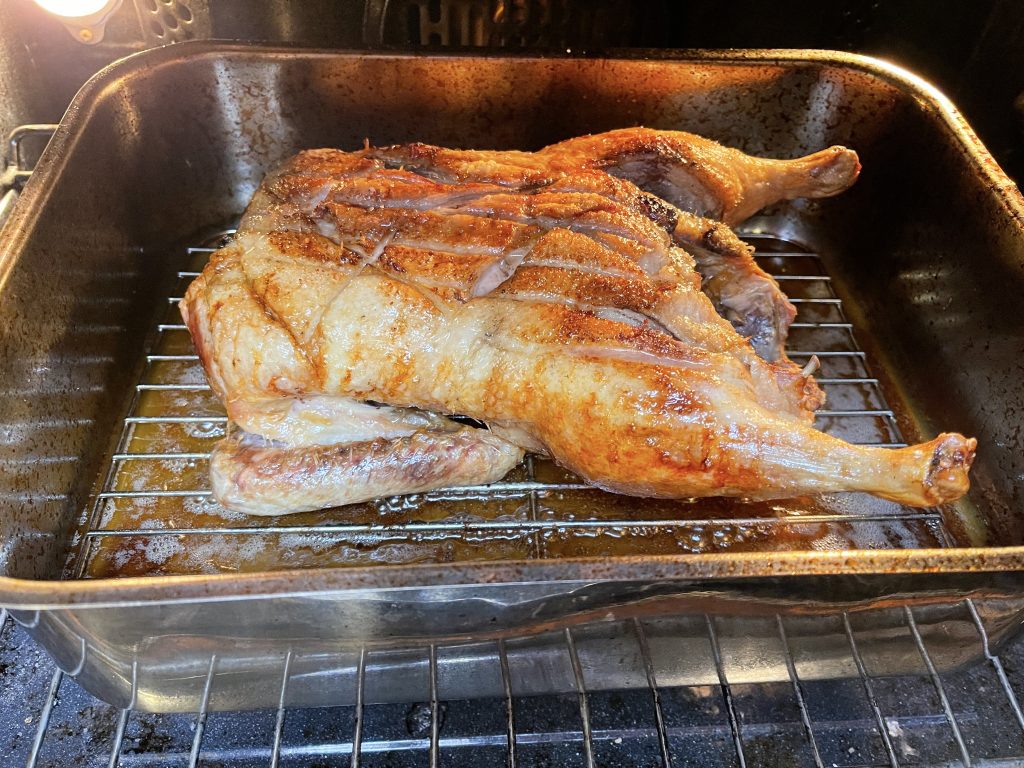
Place pan on the lower or middle rack and cook for approximately 1 hour. Then flip the duck and cook for an additional 30-45 minutes, for a total cooking time of up to 1 hour 45 minutes. (Mine was done in 1 hour 30 minutes.) It’s best to use an Instant Read Thermometer for doneness. Place thermometer in the thickest/meatiest part of the duck and temp should be 155-165 degrees. Let rest for 30 minutes before serving.
Making l’Orange Sauce
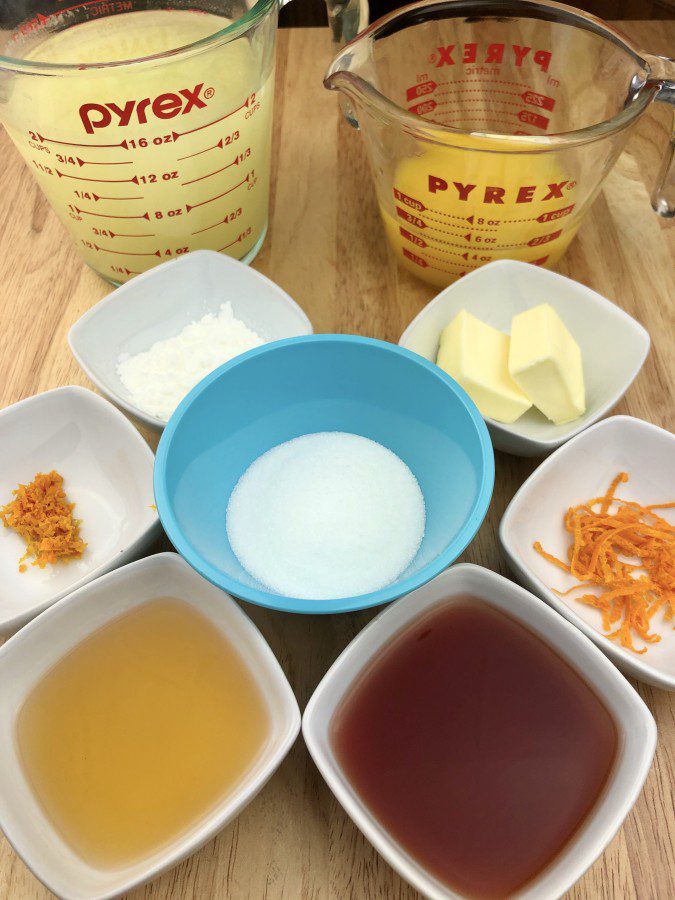
Organize all of the L’Orange Sauce ingredients…sugar, red wine vinegar, broth, orange juice and zest, gluten free soy sauce, cornstarch, Grand Marnier, salt, and butter.
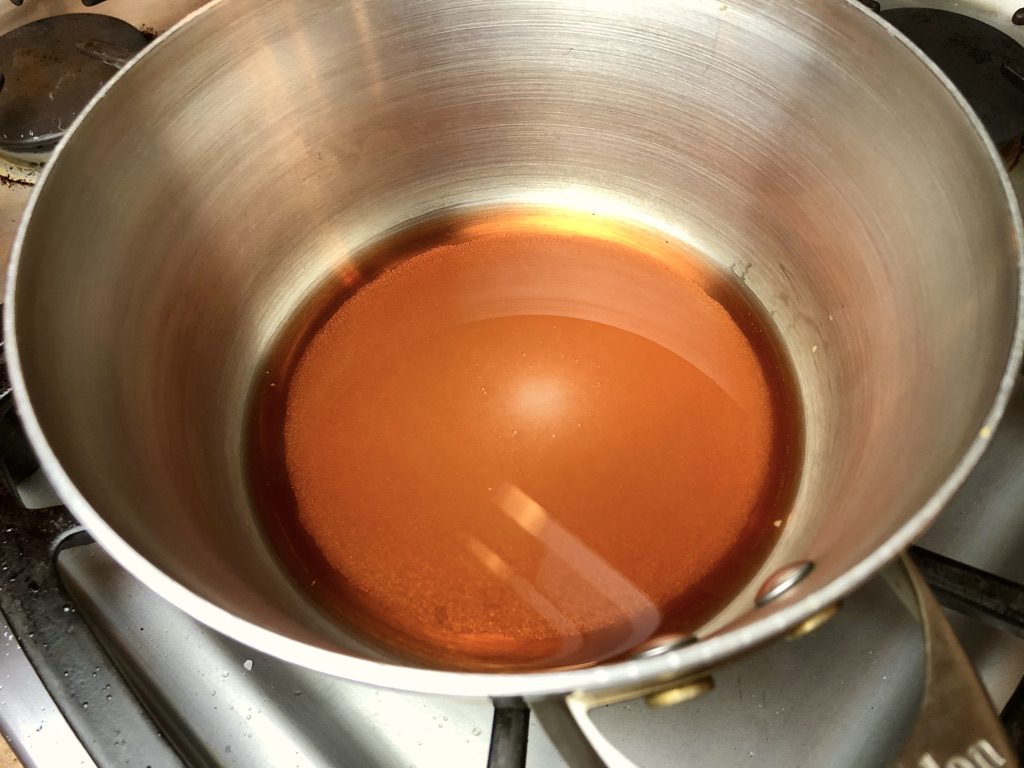
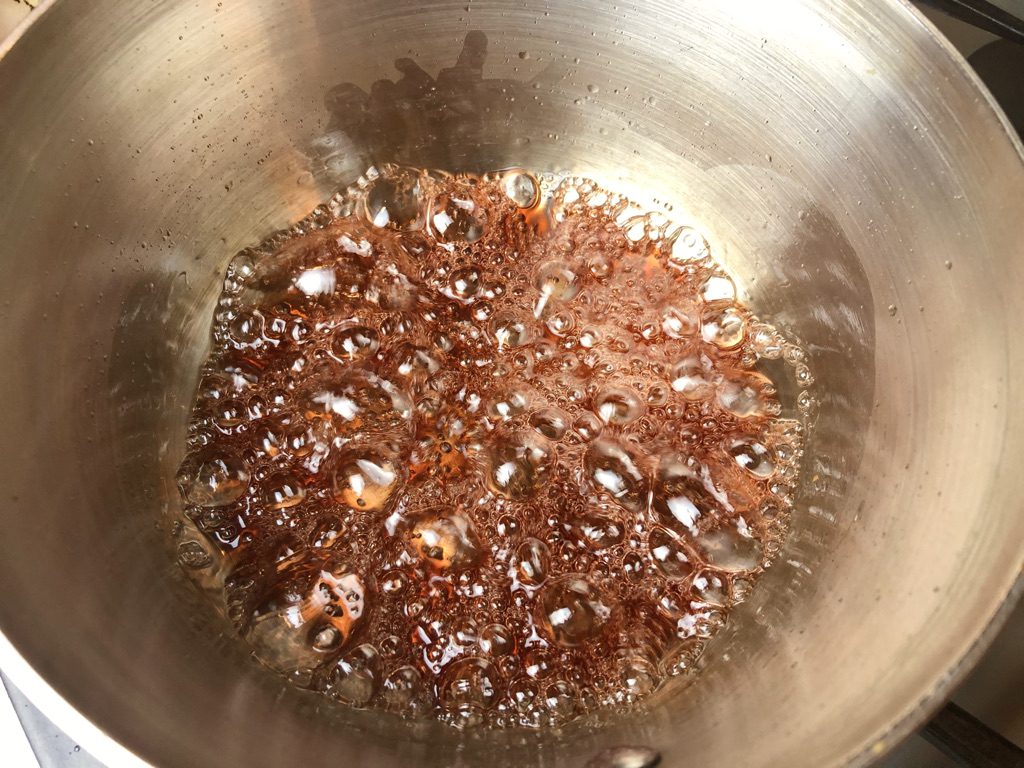
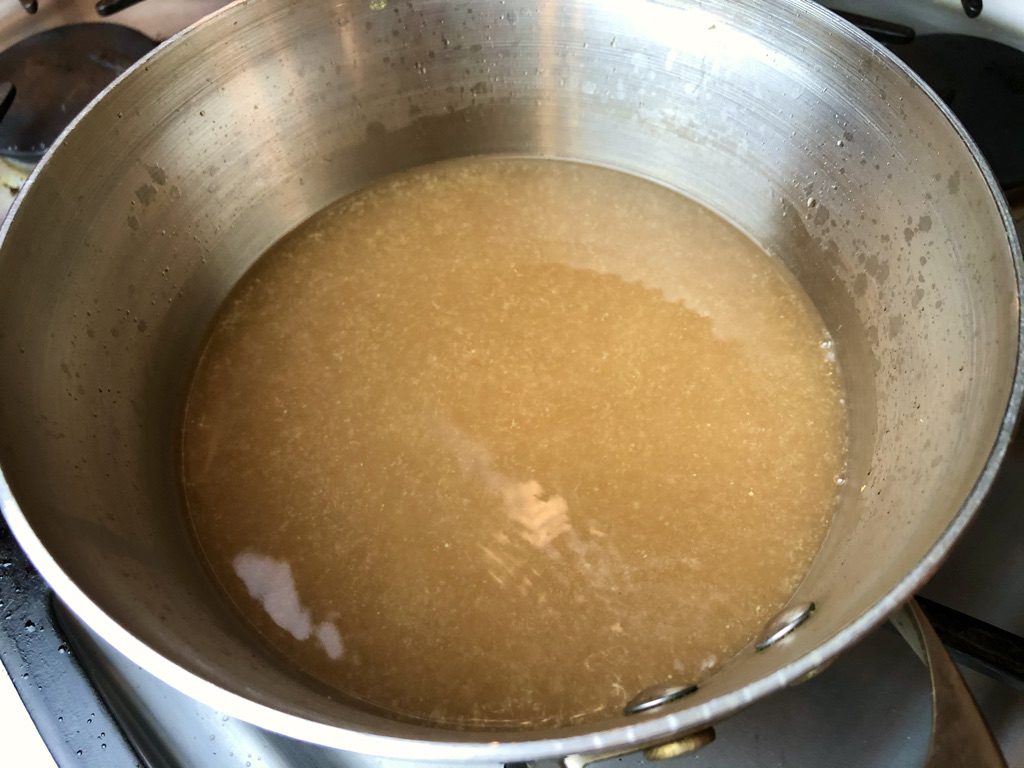
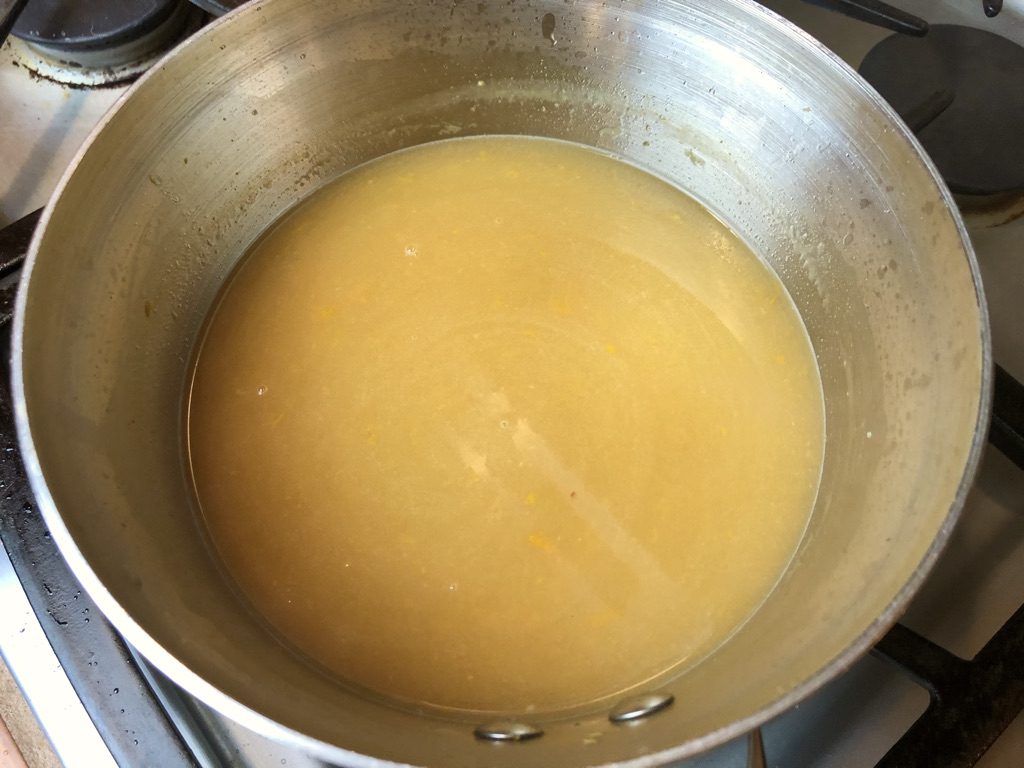
While duck is cooking, boil red wine vinegar and sugar in a medium saucepan on medium heat, until it turns color, approx. 5 mins. Then slowly add broth and continue to stir. Once all broth has been added, combine 1 tablespoon of cold water with cornstarch (this is called making a “slurry”) and set aside. Bring sauce to a simmer and add orange juice, orange zest, and soy sauce. Simmer for 5 minutes. Then add the Slurry one teaspoon at a time (cornstarch combined with COLD water) until desired sauce thickness is achieved. (I usually add only 1 1/2 teaspoons). Simmer sauce for 1-2 minutes. Add Grand Marnier, salt, and butter and cook for another 1-2 minutes. Stir until combined. Total sauce cooking time is approx 15 minutes.
Crispy Whole Duck à l’Orange
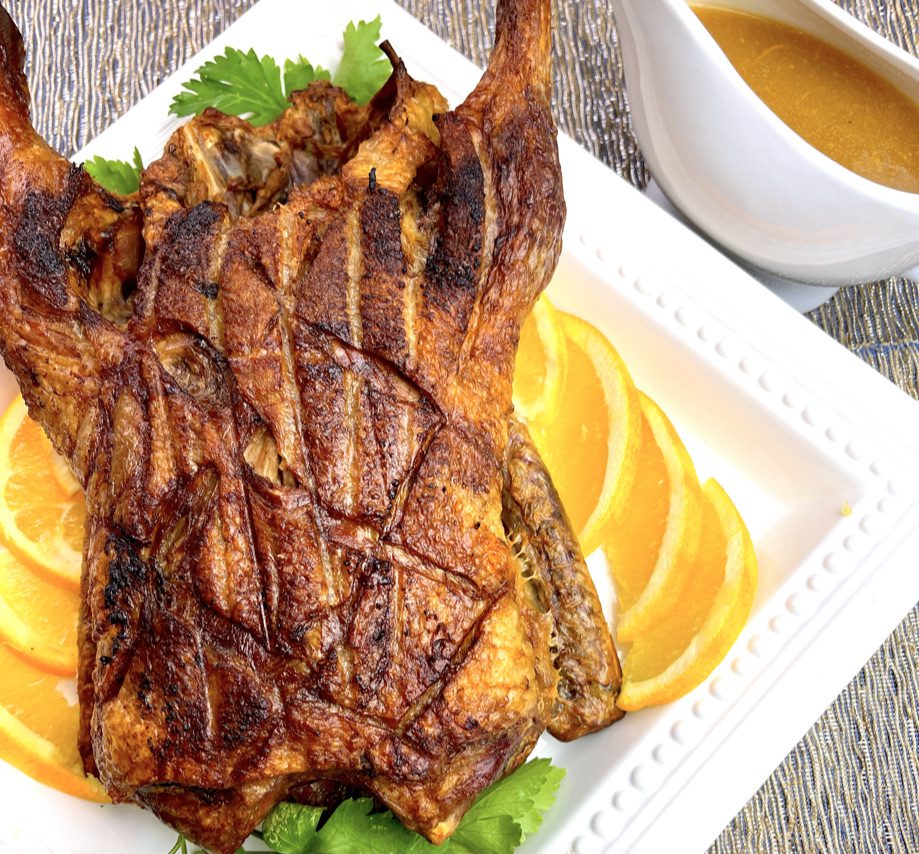
Place duck on a serving platter and either serve whole or carve. Garnish with orange slices and parsley if desired. Pour L’Orange Sauce into a gravy boat or small bowl and serve with the duck.
Crispy Whole Duck à l’Orange
Equipment
- Instant Read Thermometer, Poultry Shears
Ingredients
Duck
- 1 whole Duck, approximately 6 1/2 lbs remove gizzard, liver, etc from the cavity, trim excess fat and skin, rinse, and pat dry
- kosher salt to season all sides of the duck
l'Orange Sauce
- 3 tablespoons granulated sugar
- 2 tablespoons red wine vinegar
- 1 cup chicken or beef broth
- 1/2 cup orange juice fresh squeezed, if possible
- 1 naval orange zested
- 1 teaspoon gluten free soy sauce I use San-J
- 1 tablespoon cornstarch (mixed with one tablespoon COLD water)*
- 1 1/2 tablespoons Grand Marnier
- 1/2 teaspoon kosher salt
- 1 tablespoon unsalted butter room temperature
Garnish
- orange slices or wedges optional
- parsley sprigs optional
Instructions
Duck
- If you’ve never cooked duck before, you’ll notice that duck has a lot more fat and skin than chicken. The best way to remove the excess fat and skin is with poultry shears. If you’re not sure how much fat and skin removal is the right amount refer back to the photos I posted with this recipe to get a visual.
- Remove duck from the refrigerator and let rest for 2 hours.
- Preheat oven on Roast setting to 425 degrees. If you don’t have Roast, use the Bake setting.
- After the duck has rested, use a very sharp knife to score the duck skin on both sides. Be careful not to cut into the meat, just score the skin. If your knife isn’t sharp enough to easily cut through the skin, use a fork to pierce the skin all over. The scoring (or piercing) of the skin is VERY important because this is what allows the fat to cook off. It is also helpful to cut down on the leg (when the duck is laying breast side up with the wings down) so that the drumsticks cook more quickly and evenly. (If unsure about how to do this, refer back to this recipe on my blog for photos illustrating the step-by-step instructions).
- Next, apply a generous sprinkling of salt all over the duck. The salt helps to draw the moisture out as well as season the duck. Feel free to add additional spices to the duck at this point.
- Use a roasting pan with high sides and place a rack inside the pan. For easier clean up later, it’s best to spray the bottom and sides of the pan and the rack with non-stick oil. Set the duck BREAST-SIDE DOWN on the rack. (You’ll know you’ve done it correctly, if the legs are on the bottom of the roasting pan and the wings are up.)
- Place pan on the lower or middle rack and cook for approximately 1 hour. Then using tongs, flip the duck and cook for an additional 30-45 minutes for a total cooking time of up to 1 hour 45 minutes. (My duck was 6 1/2 pounds and it was done in 1 hour 30 minutes.) If your duck is on the smaller side, it may need to only cook for an additional 15 minutes. It’s best to use an Instant Read Thermometer for doneness. Place thermometer in the thickest/meatiest part of the duck and temp should be 155-165 degrees.
- Carefully remove duck from the oven and let rest for 15 or so minutes before serving.
- Place on a serving platter and either serve whole or carve. Garnish with orange slices and parsley if desired.
l'Orange Sauce
- While duck is cooking, make the L'Orange sauce.
- Boil red wine vinegar and sugar in a medium saucepan on medium-high heat, until it turns color, approx. 5 mins. Then slowly add broth and continue to stir.
- As the vinegar and sugar are cooking, combine one tablespoon COLD water with one tablespoon cornstarch (this is called making a "slurry") and mix thoroughly until cornstarch and water are combined and then set aside.
- Bring sauce to a simmer and add orange juice, orange zest, and soy sauce. Simmer for 5 minutes. Then add the Slurry (cornstarch combined with COLD water) to thicken the sauce until desired sauce thickness is achieved. (I usually add 1 1/2 teaspoons). Simmer for 1-2 minutes.
- Add Grand Marnier, salt, and butter and cook for another 1-2 minutes. Stir until combined. Total sauce cooking time is approx. 15 minutes.
- Reheat sauce when ready to serve duck and place in a gravy boat or small bowl.
Notes
Roasted Duck recipe is from The Healthy Butcher and the Orange Sauce is from Honest-Food and is an adaptation of Julia Child’s Duck L’Orange. The Roasted Duck and Orange sauce recipes have been modified by me.
If you like this recipe, you may also like these other GFchow recipes. Orange-Glazed Cornish Hens, No Fuss Crispy Roast Chicken, and Peruvian-Style Roast Chicken with Cilantro-Lime Mayo.
GLUTEN FREE DISCLAIMER
The recipes you find here are considered by me to be gluten free. However, it is up to you to make sure the ingredients you use are gluten free. Whenever possible, I will list specific brands of ingredients that I use, but always be sure to check the labels yourself to verify the item is gluten free.
Omg, that looks so amazing!
The skin with the sauces is to die-for amazing!