Homemade Gluten Free Ciabatta Rolls
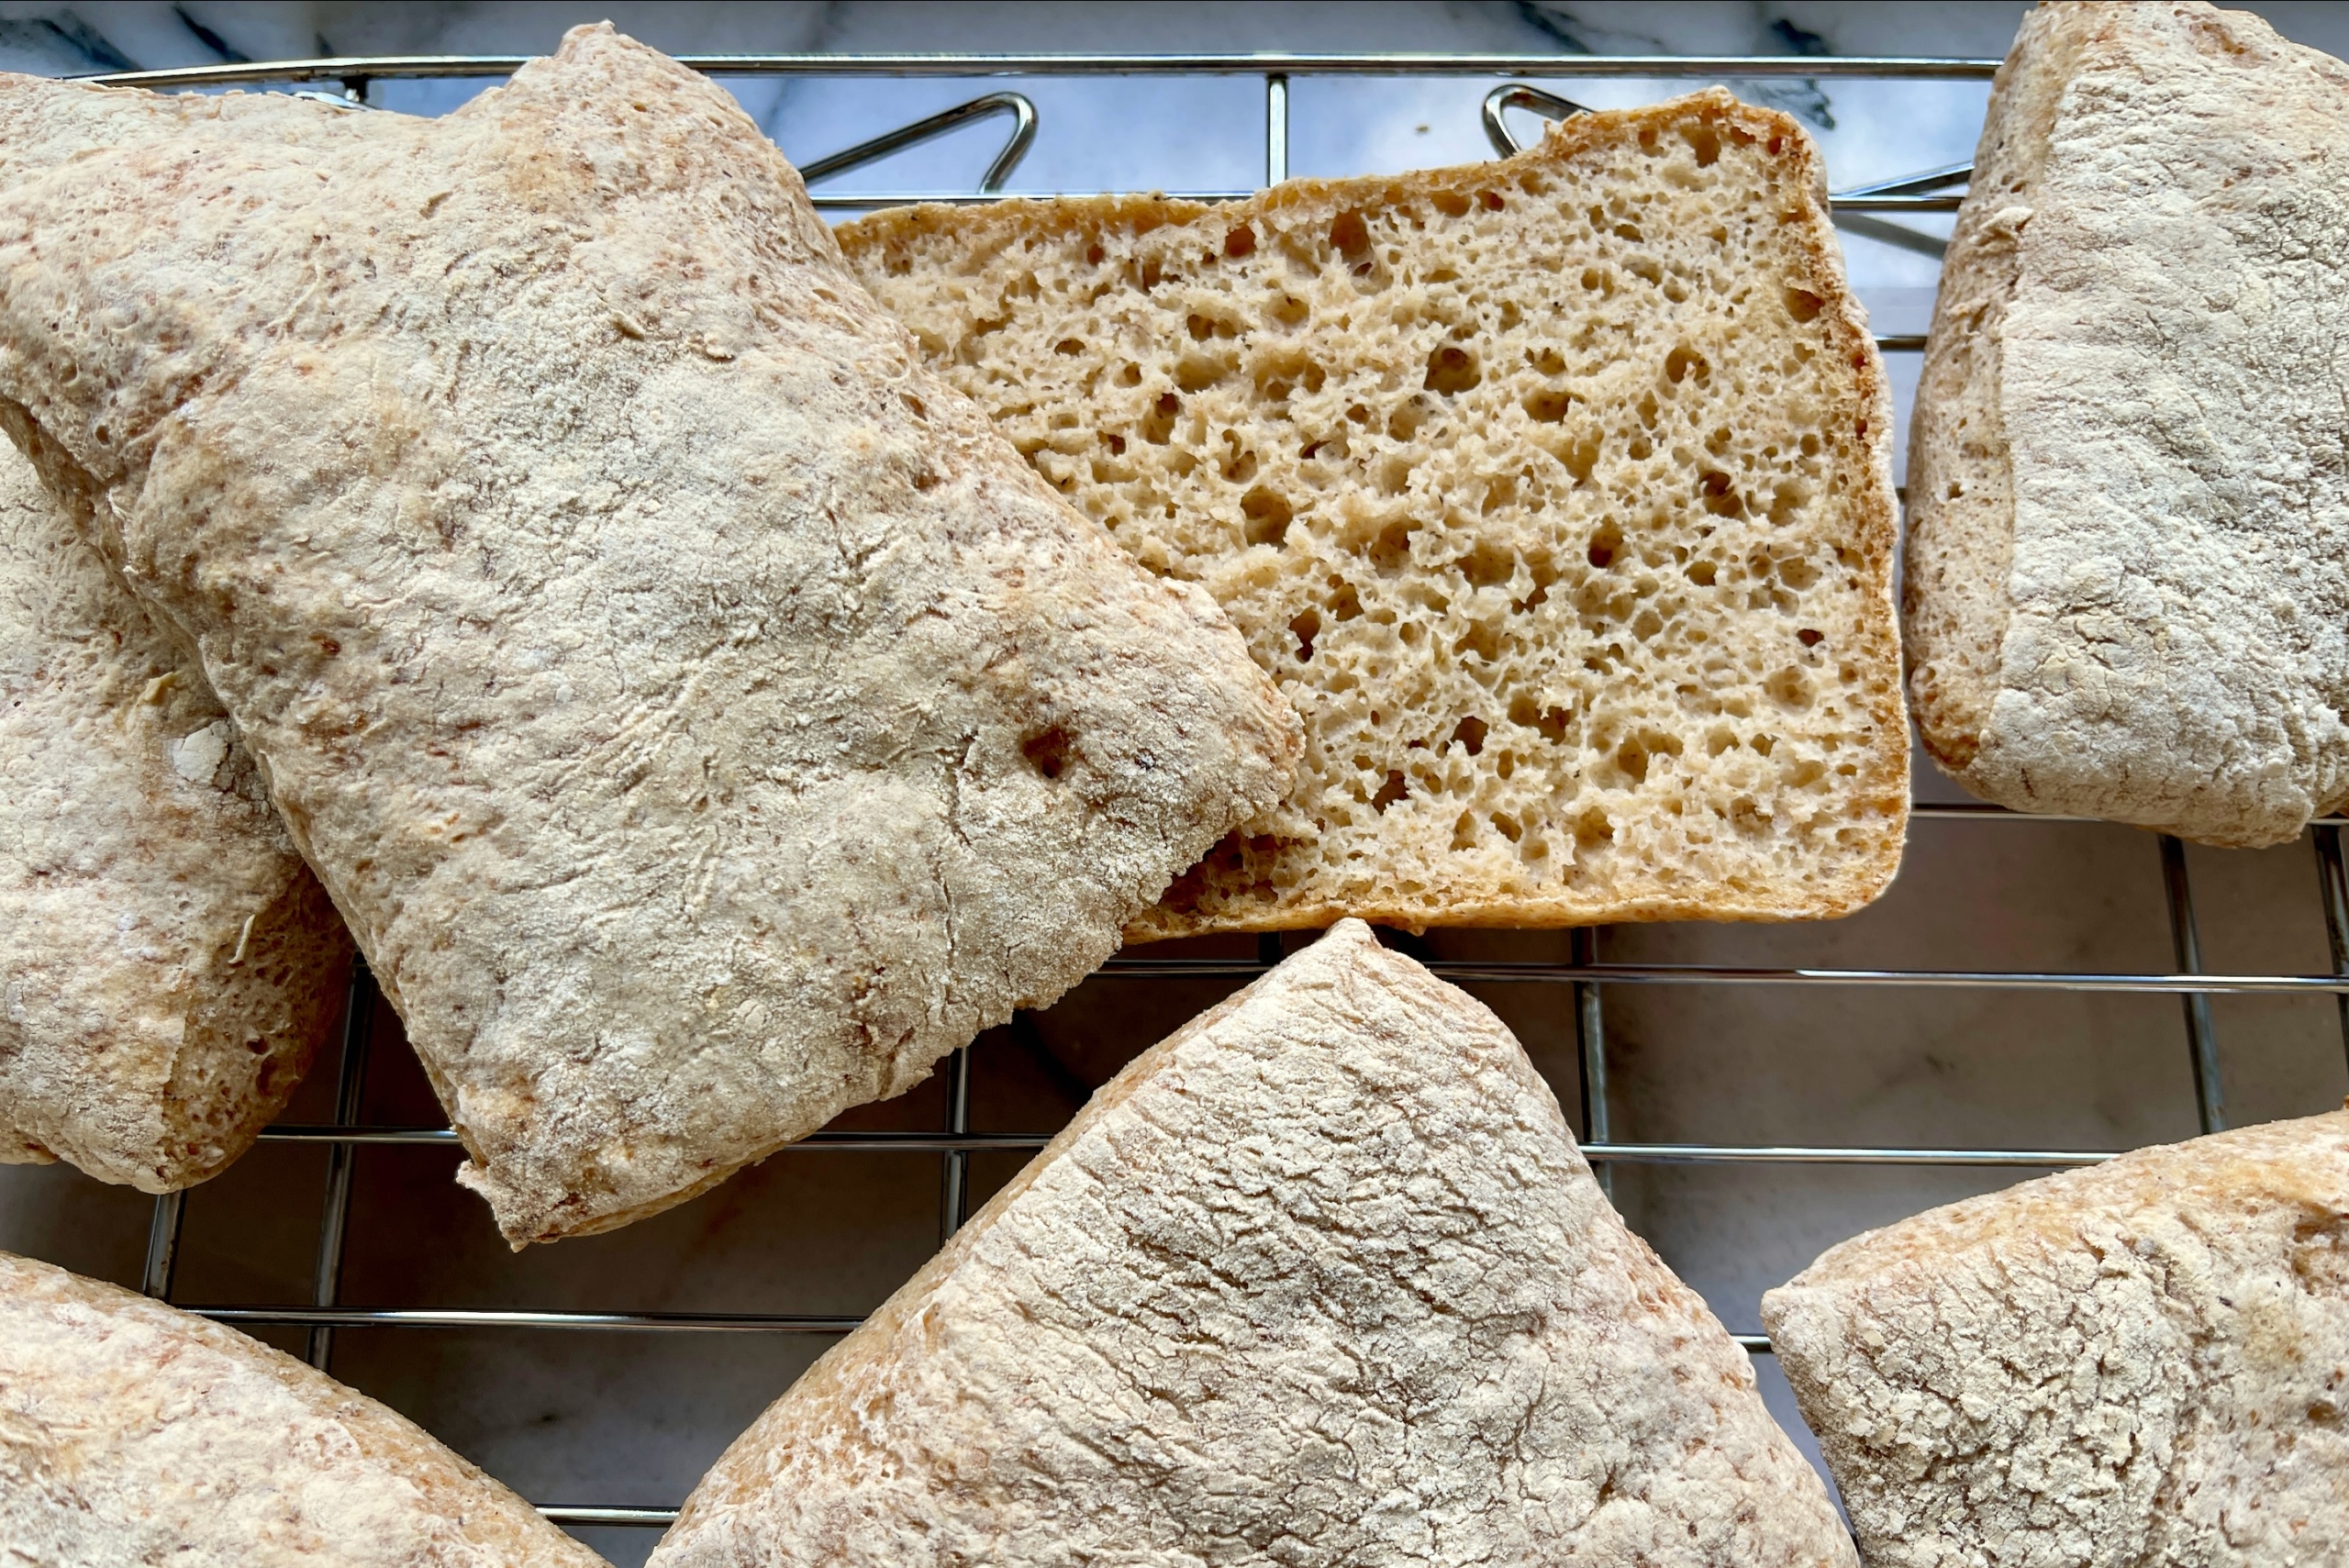
Life changing! That’s how I feel about these Homemade Gluten Free Ciabatta Rolls. I have never baked bread before and have been intimidated to even try. But I did try and, I’m telling you, if I can do it, you can too! Being able to make your own gluten free ciabatta rolls that are perfectly crusty on the outside while having a delicious chew and soft texture on the inside is simply exhilarating. Don’t get overwhelmed by the different flours that are called for in this recipe that you may (or may not ) have in your pantry. They are all available at Whole Foods or online and once you have them you will definitely be using them often because these rolls are out of this world!
Jump to RecipeIngredients
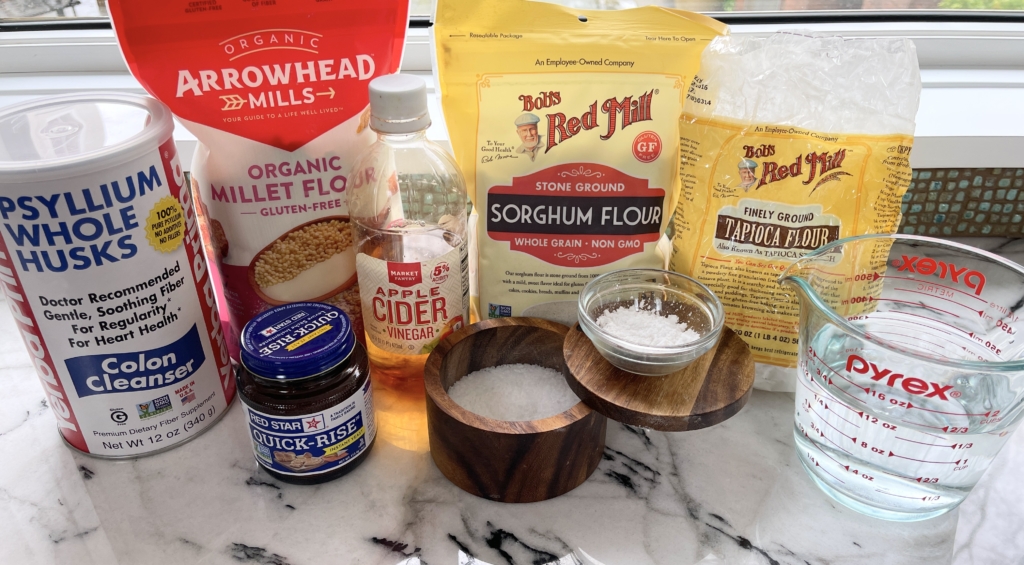
Organize the ingredients – whole psyllium husk, warm water, millet flour, tapioca flour (which is also known as tapioca starch), sorghum flour, instant yeast, kosher salt, olive oil (not photographed), sugar, and cider vinegar.
Making the Psyllium Gel
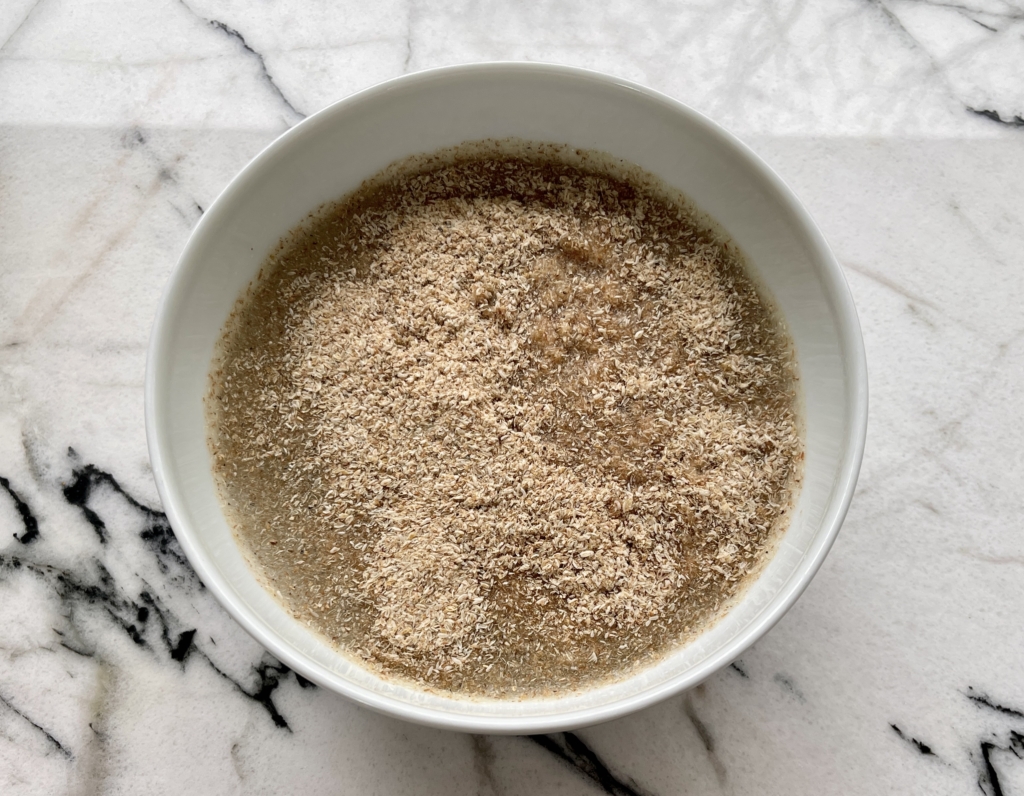
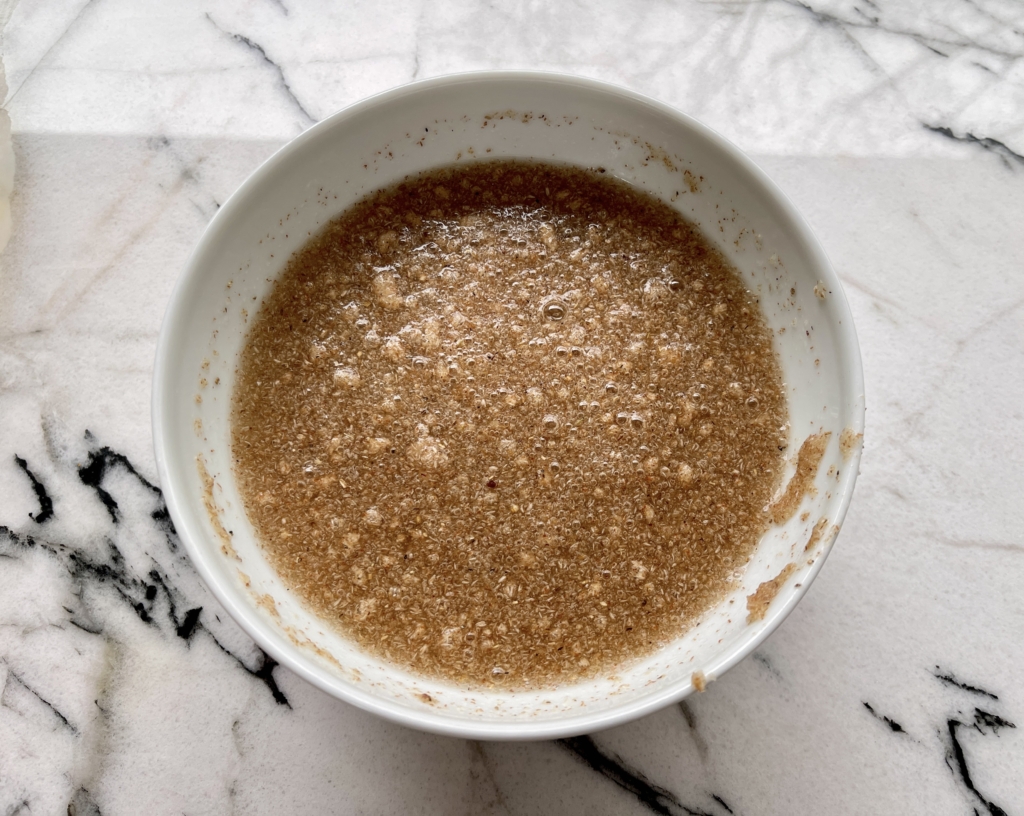
In a smallish bowl, mix together the psyllium husk and lukewarm water. After about 30-45 seconds, a gel will form. Psyllium husk is the secret and key ingredient in this recipe that acts as a gluten substitute (binder) and allows the gluten free dough to be easily handled and shaped. It also gives the dough enough flexibility so that it can expand, first during proofing and then during the first part of baking (oven spring).
Making the Dough
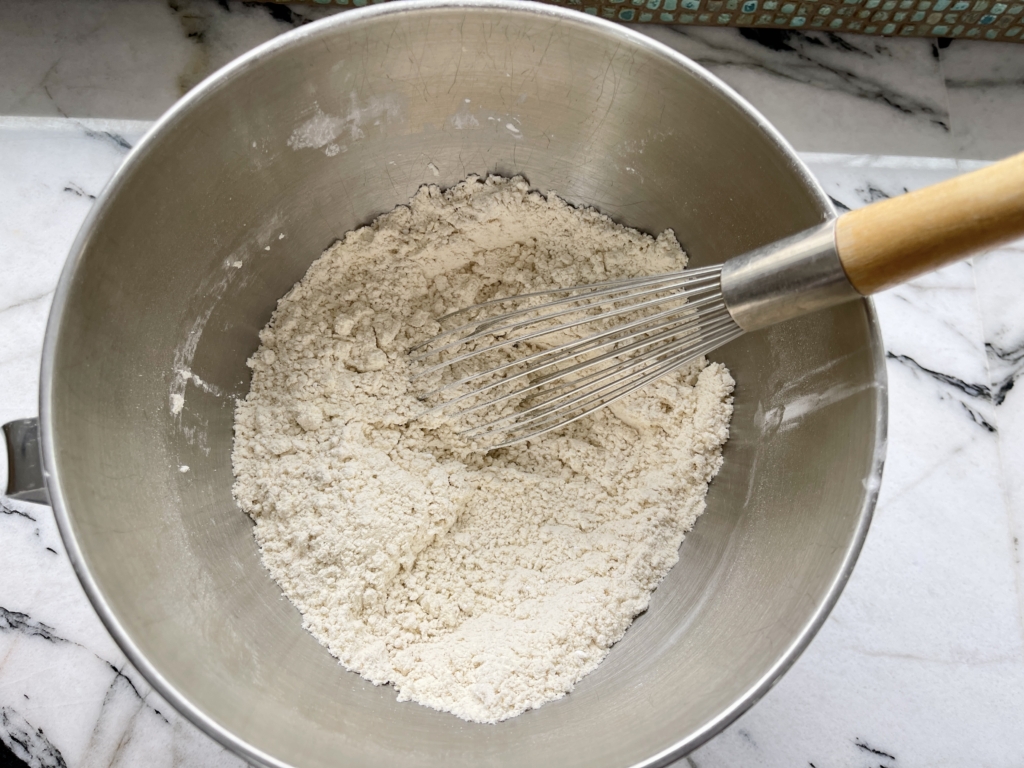
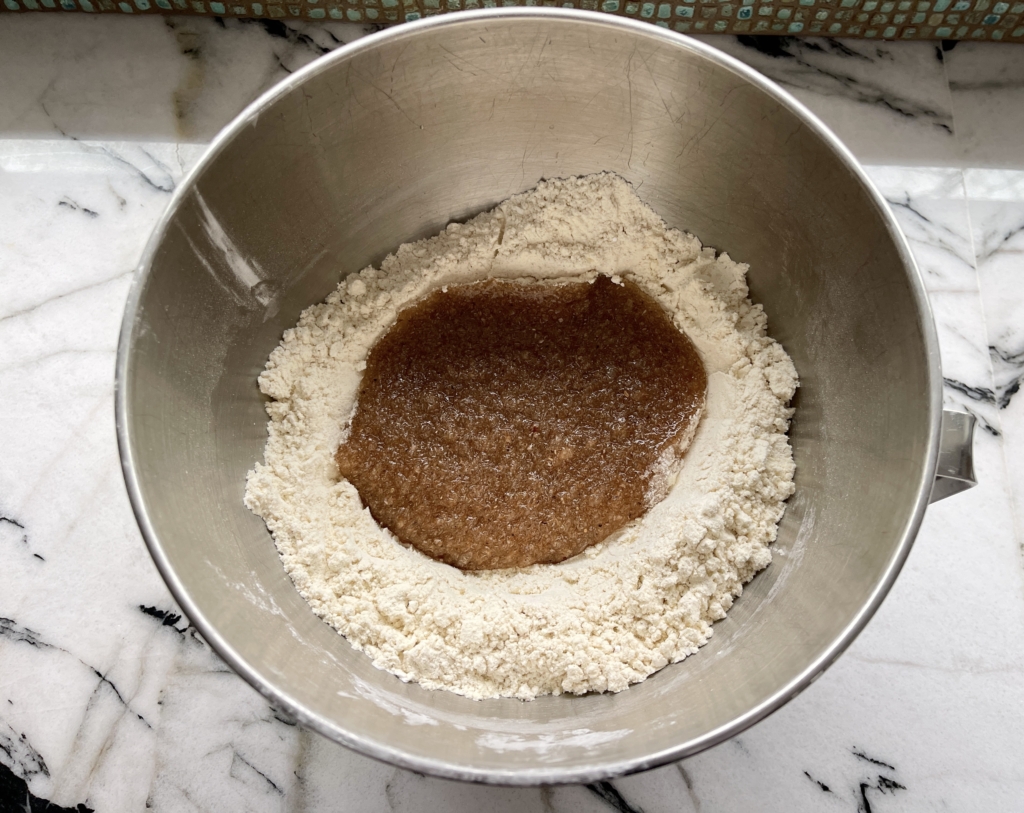
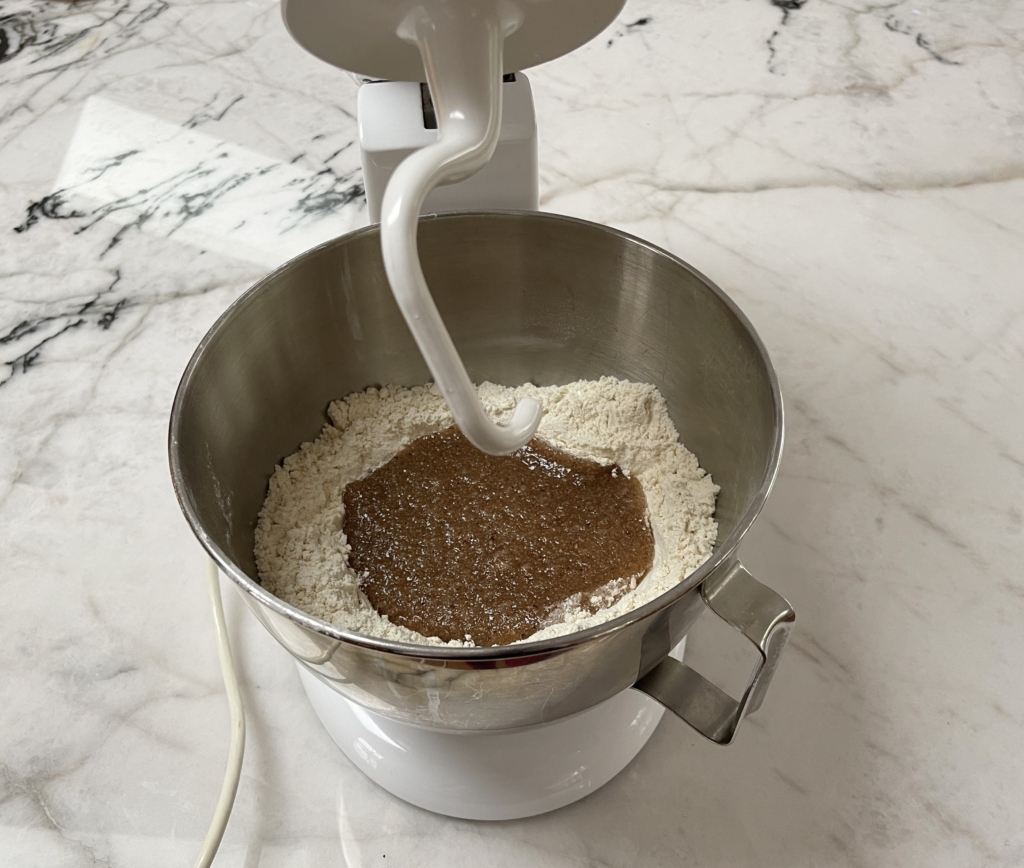
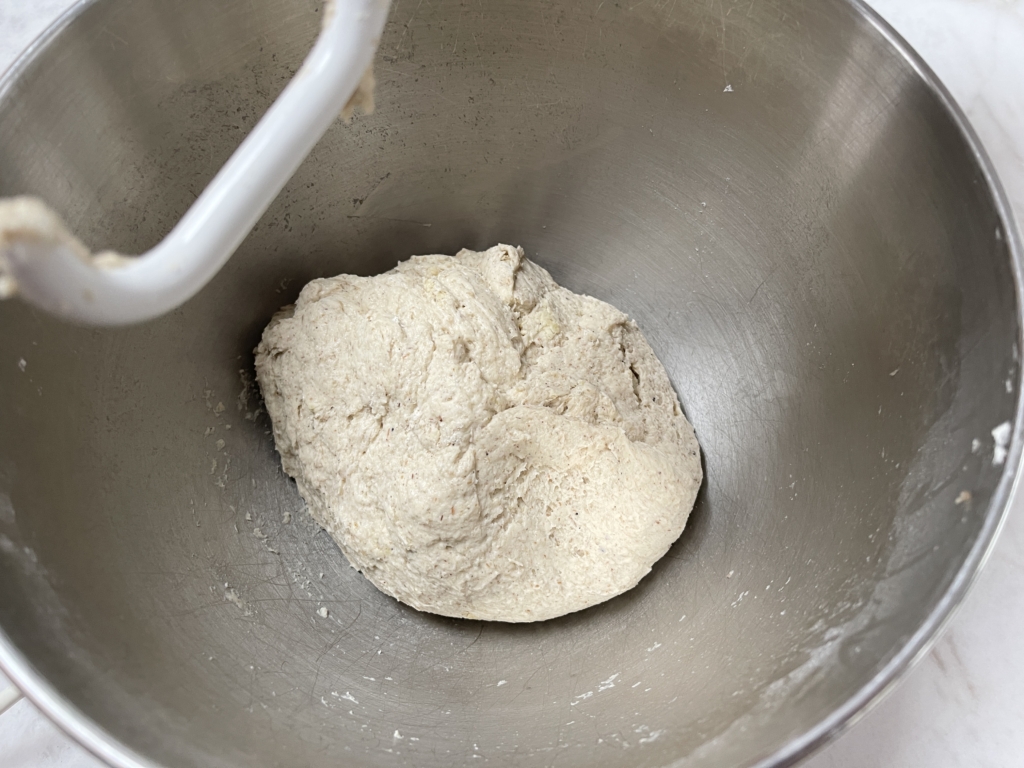
In the bowl of a stand mixer, whisk together the millet flour, tapioca starch, sorghum flour, sugar, instant yeast and salt. Make a well in the middle of the dry ingredients and add the psyllium gel, olive oil and vinegar. Place the bowl into the mixer and insert the dough hook. Knead the dough until it’s smooth and all the ingredients are evenly incorporated. Use a rubber spatula to occasionally scrape along the sides and especially the bottom of the bowl to prevent any dry patches of unmixed flour. Depending on the speed of the mixer (I used it on #2, the second lowest speed setting), the mixing time can be anywhere from 7-10 minutes. Mine usually takes 7 1/2 minutes. Ultimately what you are looking for is the dough to be smooth, supple, and fairly soft, with no lumps of unmixed flour or psyllium gel. It should come away from the sides of the bowl easily and will be slightly sticky to the touch.
Rolling Out the Dough and Shaping the Rolls
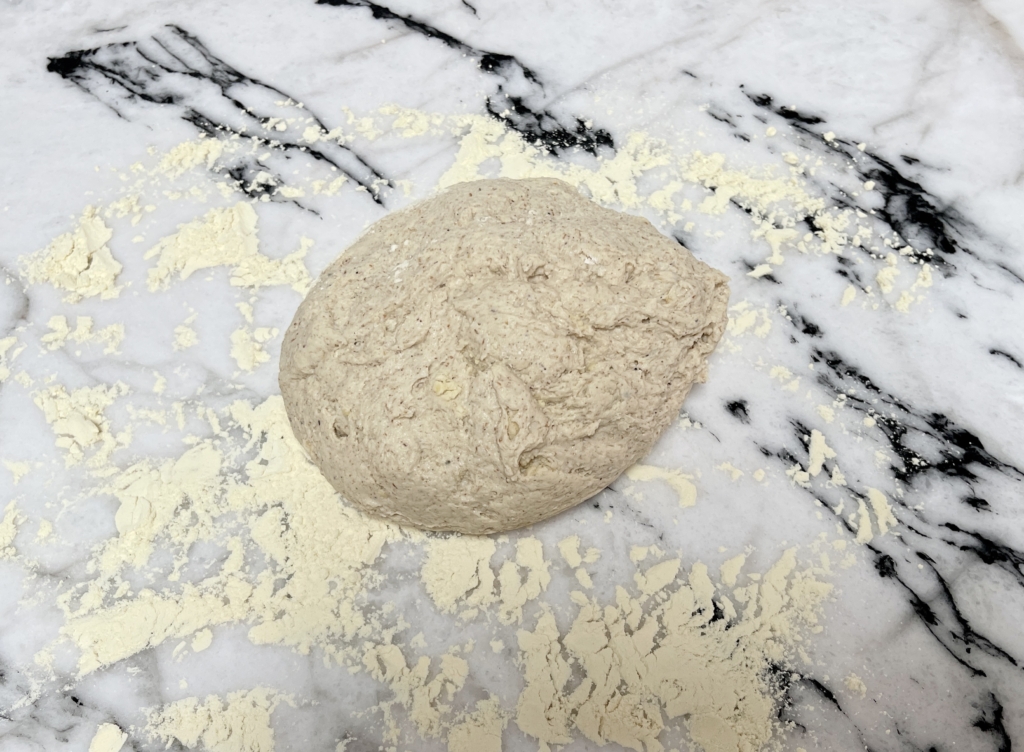
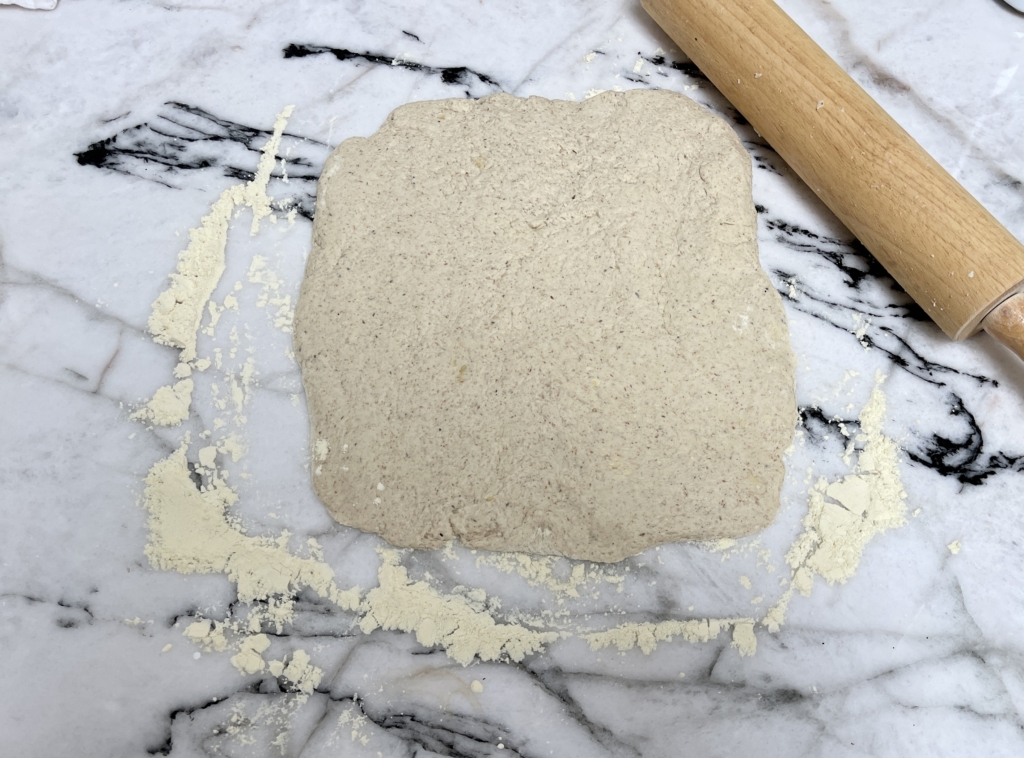
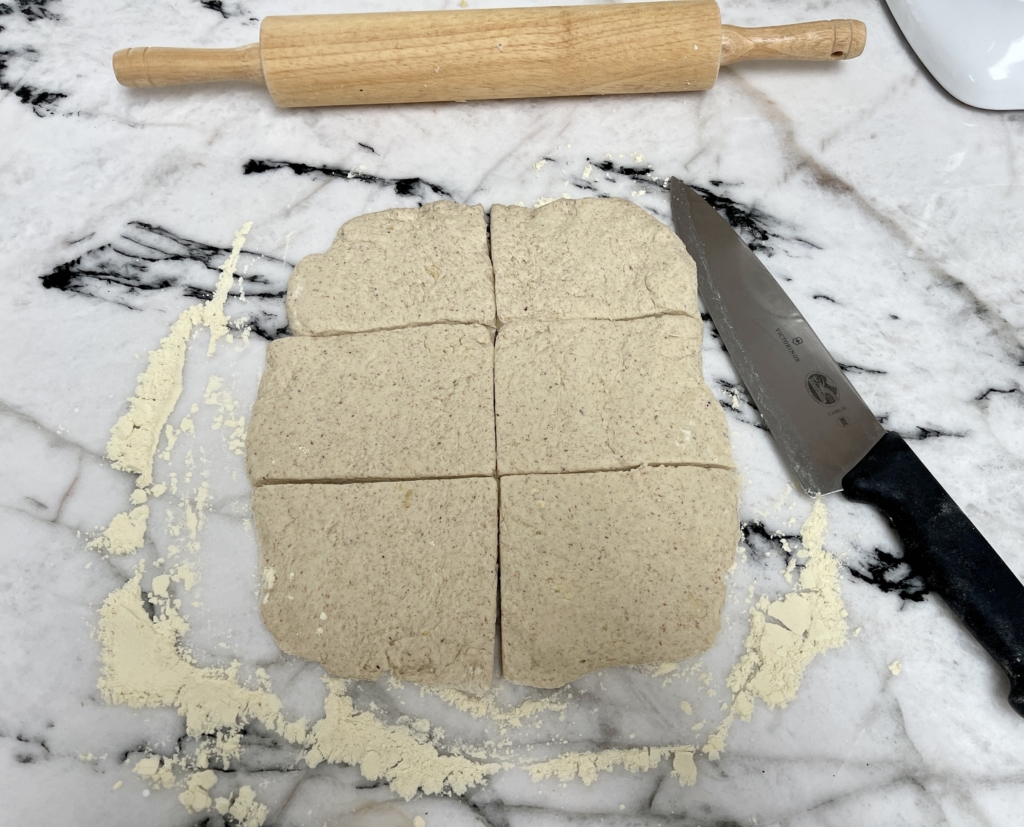
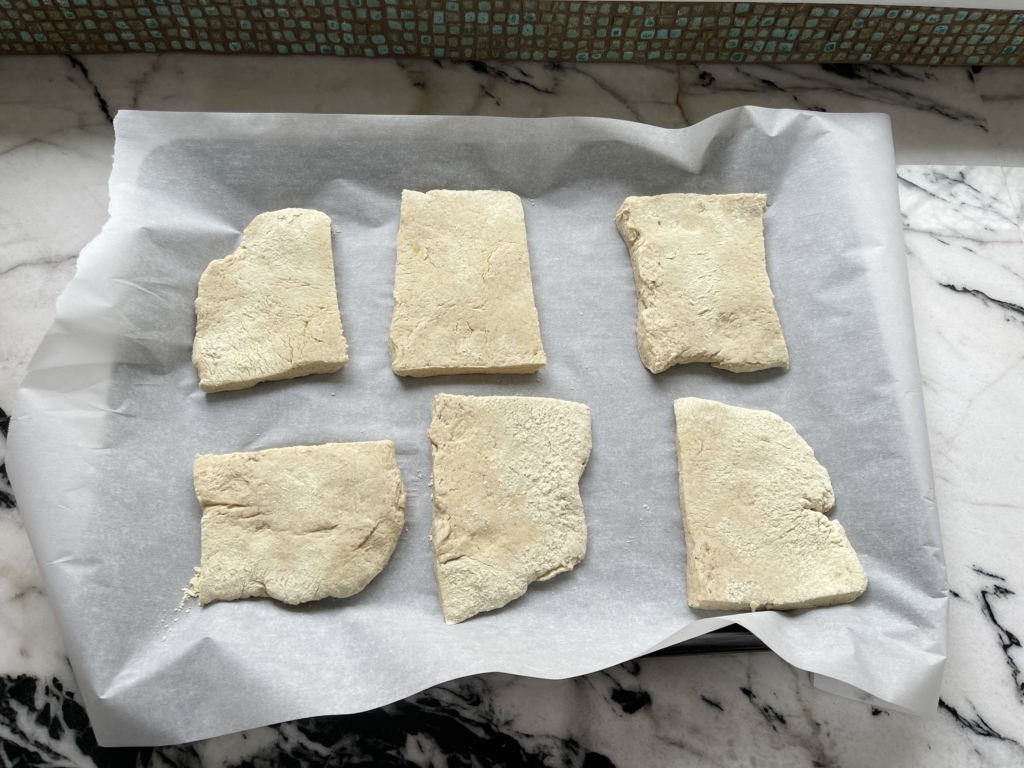
Flour your work surface with the millet flour and place the dough on top. Give it a gentle knead, shaping it into a ball. Then gently roll out the dough into a rough rectangle, about 10 x 8½ inches and just over ½ inch thick. Use a bench scraper or a sharp knife to divide the dough into six fairly equal smaller rectangles. Don’t worry if they’re a bit uneven…ciabatta rolls are meant to be rustic! Flip the ciabatta rolls upside down, so that their generously floured bottoms face upwards and transfer them onto a parchment paper lined baking sheet. Make sure that they’re evenly spaced apart and not touching. (Ciabatta bread is known for its crusty, flour-streaked exterior, so don’t be tempted to brush off any of the excess flour.)
Proofing the Dough
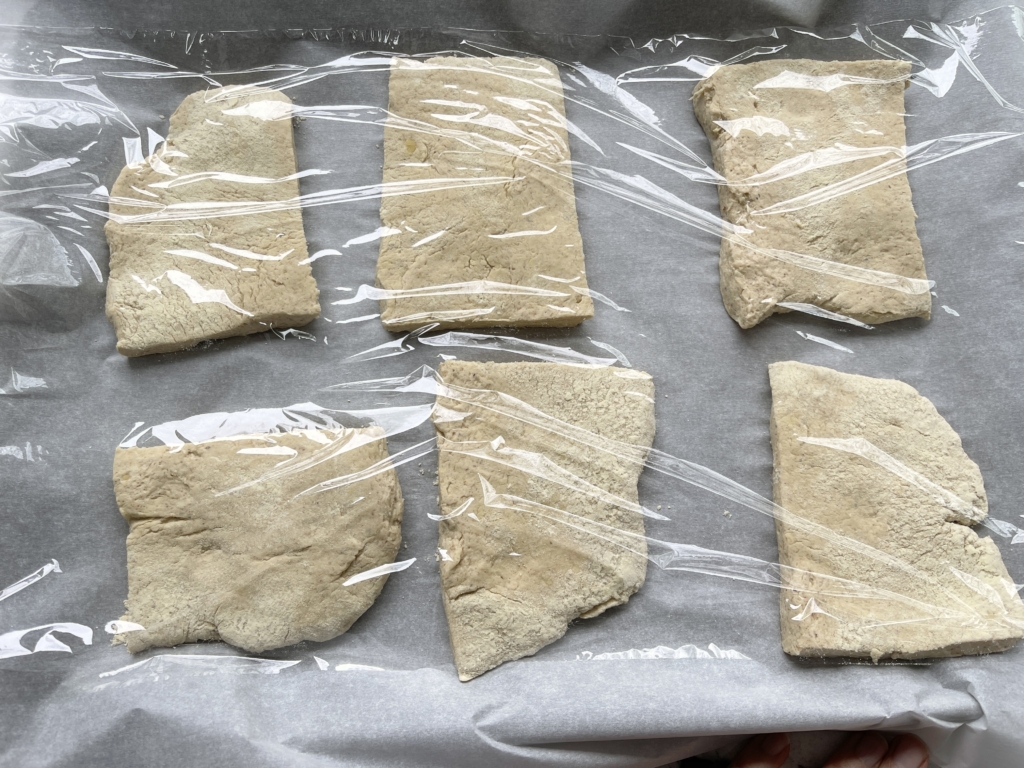
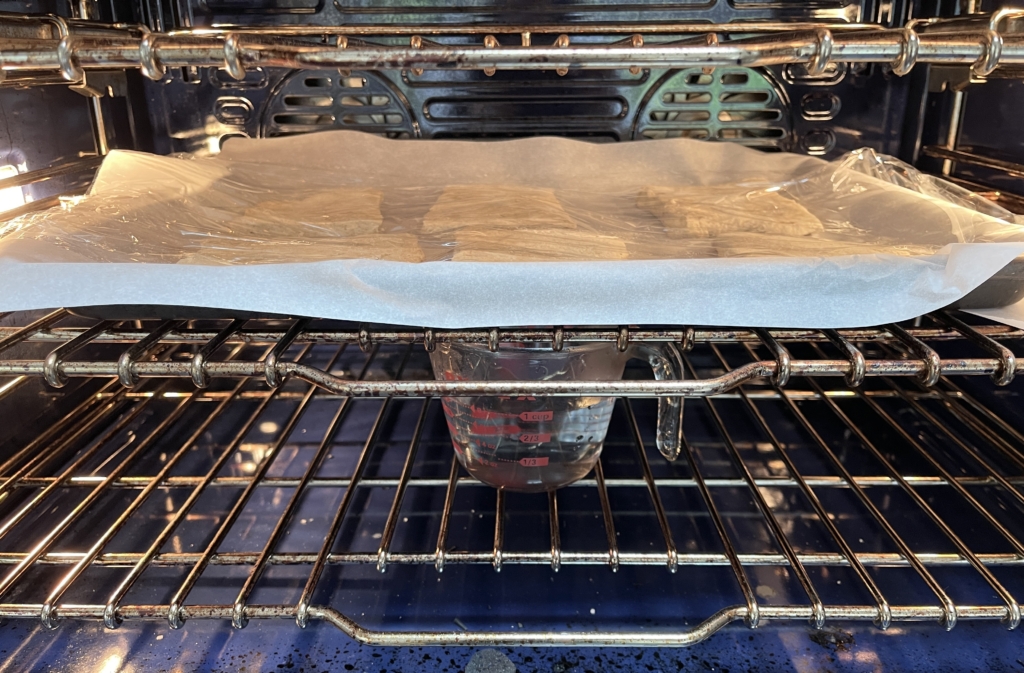
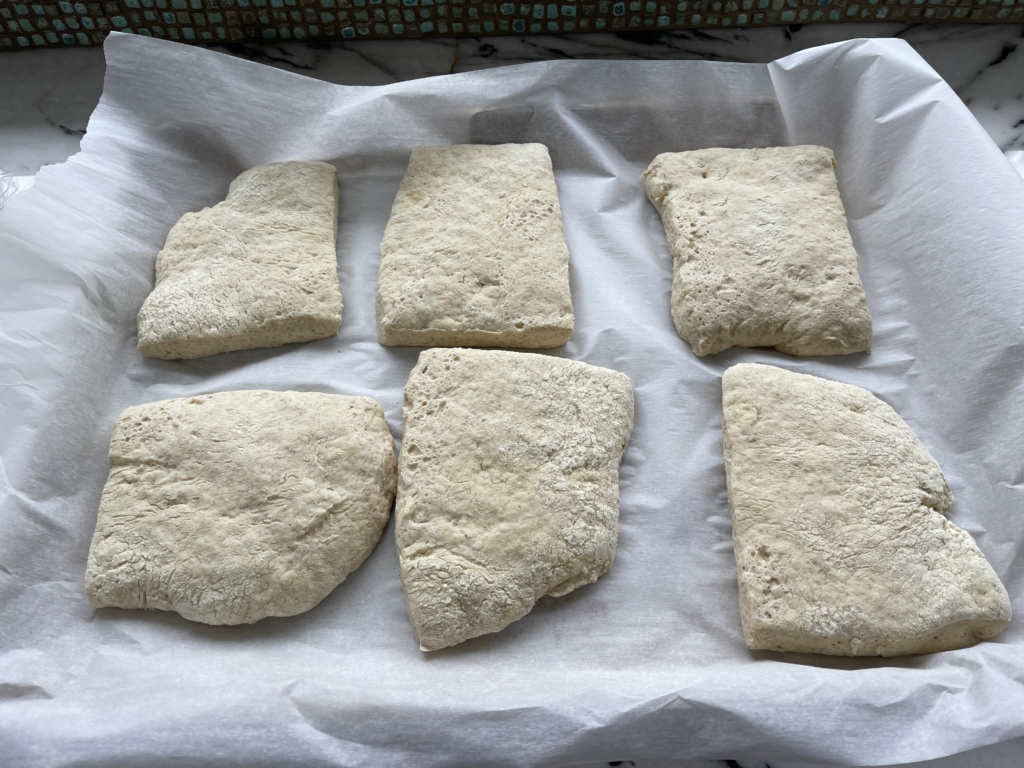
Lightly cover the ciabatta rolls with plastic wrap (to prevent them from drying out) and proof in a warm spot until doubled in size, this should take about 1- 2 hours. I placed mine in the oven (that was completely turned off with a measuring cup filled with boiling water). This creates a warm, slightly humid proofing environment.
While the rolls are proofing, preheat your second oven to 475ºF. (If you only have one oven, you’ll need to find another area in your house that’s warm and suitable for proofing the rolls.) Your oven must be thoroughly preheated. To do this, start preheating after your rolls have been proofing for about 15 minutes. Place a baking stone or a heavy-duty baking sheet (I used a baking sheet) turned upside-down on the middle oven rack and a cast iron skillet or metal baking tray (not glass!) on the bottom of the oven. (Since you’ll be adding ice cubes to the hot baking tray on the bottom of your oven to generate steam, it will experience a huge temperature change that could shatter a glass pan. Cast iron is best, but a metal baking tray also works great.)
Baking the Rolls
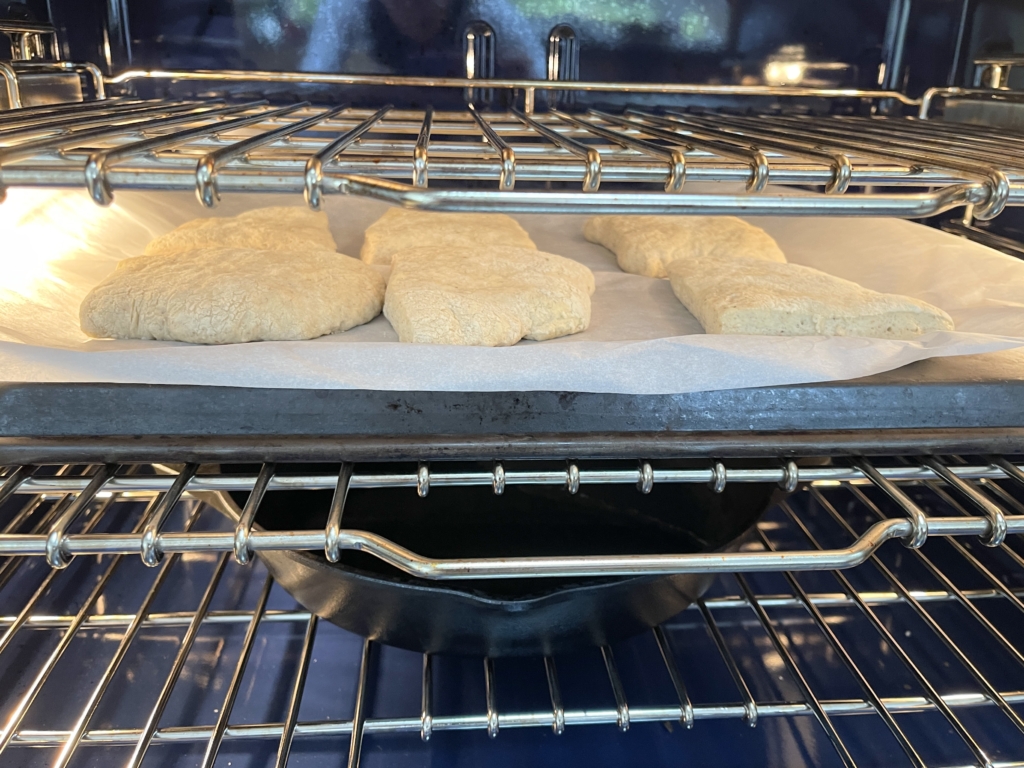
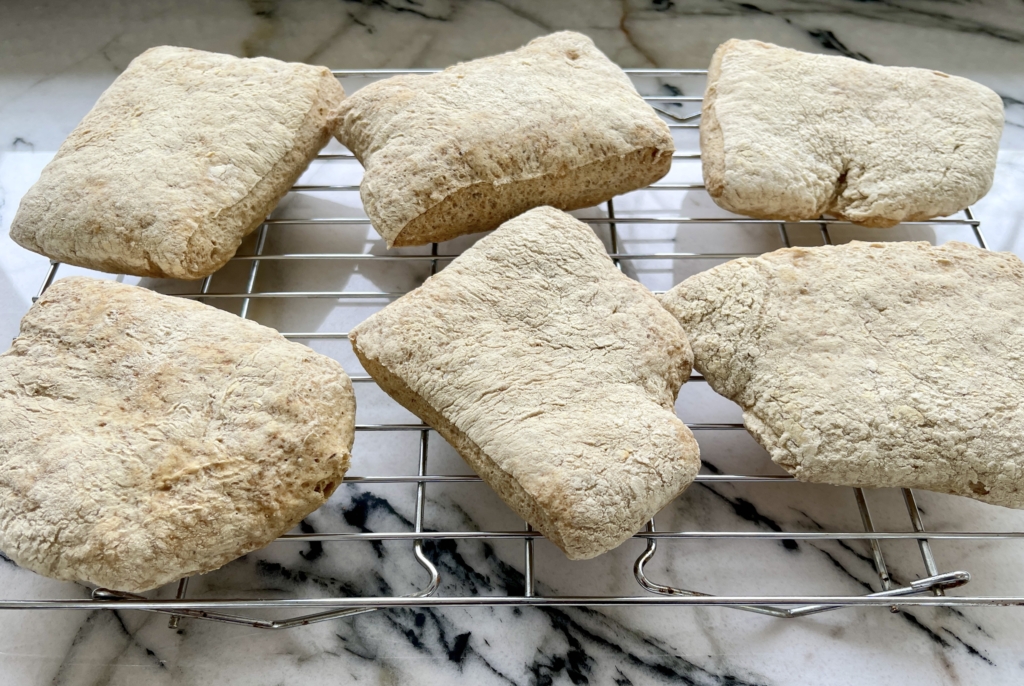
Once your rolls have doubled in size, it’s time to bake!
Three actions need to happen quickly and almost simultaneously…
1) Slide the rolls (along with the parchment/baking paper) onto the very hot baking stone or baking sheet,
2) Place 5-6 ice cubes into the bottom skillet or baking tray to create steam and close the oven door, and
3) Immediately reduce the oven temperature to 425ºF
Bake the ciabatta rolls with the steam from the ice cubes for 10 minutes. Don’t open the oven door during this time. After the 10 minutes, open the oven door to let out the steam and remove the bottom skillet or baking tray. Close the oven, keep the oven temperature at 425ºF and bake for 15 minutes longer until the rolls are deep golden brown. Remove the ciabatta rolls from the oven and cool them on a wire rack. Allow rolls to cool completely before cutting into them. Otherwise the interiors will still be sticky.
Homemade Gluten Free Ciabatta Rolls
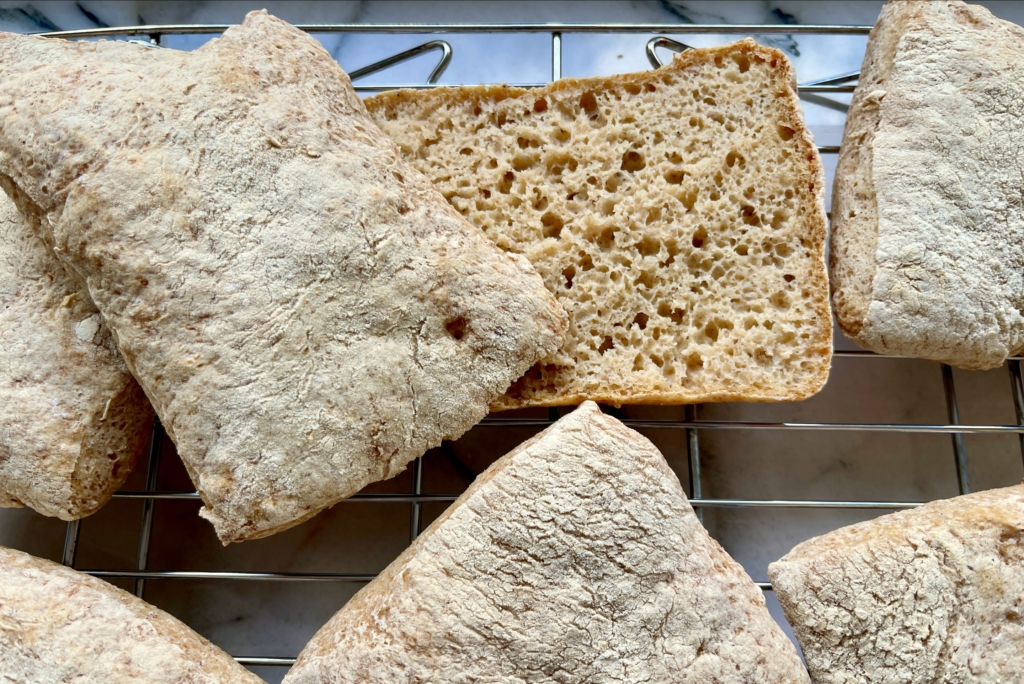
Once the rolls are cooled, begin making your breakfast/lunch sandwiches or serve them with olive oil seasoned with kosher salt, freshly ground pepper. Adding fresh garlic, herbs, and some parmesan to the olive oil would also be delish.
Homemade Gluten Free Ciabatta Rolls
Equipment
- stand mixer fitted with the dough hook attachment
Ingredients
- 3 tablespoons whole/rough psyllium husk
- 1½ cups lukewarm water
- ¾ cup + 2 tablespoons millet flour plus extra for flouring the surface
- 1 cup tapioca starch also known as tapioca flour
- ½ cup + 2 tablespoons sorghum flour
- 1 tablespoon sugar granulated or superfine
- 2½ teaspoons instant yeast I used Red Star Quick Rise brand
- 1 teaspoon salt
- 2 tablespoons olive oil
- 1½ teaspoons apple cider vinegar
Instructions
- Read through the recipe 2-3x before beginning if you've never baked bread before to understand the steps to bake the most amazing ciabatta rolls.
Making the Dough
- Make the psyllium gel: In a smallish bowl, mix together the psyllium husk and lukewarm water. After about 30-45 seconds, a gel will form.
- In the bowl of a stand mixer, whisk together the millet flour, tapioca starch, sorghum flour, sugar, instant yeast and salt.
- Make a well in the middle of the dry ingredients and add the psyllium gel, olive oil and vinegar.
- Place the bowl into the mixer and insert the dough hook. Knead the dough until it's smooth and all the ingredients are evenly incorporated. Depending on the speed of the mixer (I used it on #2, the second lowest speed setting), the mixing time can be anywhere from 7-10 minutes. Mine usually takes 7 1/2 minutes. Ultimately what you are looking for is the dough to be smooth, supple, and fairly soft, with no lumps of unmixed flour or psyllium gel. It should come away from the sides of the bowl easily and will be slightly sticky to the touch. Use a rubber spatula to occasionally scrape along the sides and especially the bottom of the bowl to prevent any dry patches of unmixed flour.
Shaping & Proofing
- Flour your work surface with the millet flour and place the dough on top and give it a gentle knead, shaping it into a ball.
- Gently roll out the dough into a rough rectangle, about 10 x 8½ inches and just over ½ inch thick.
- Use a bench scraper or a sharp knife to divide the dough into six fairly equal smaller rectangles. Don’t worry if they’re a bit uneven…ciabatta rolls are meant to be rustic!
- Flip the ciabatta rolls upside down, so that their generously floured bottoms face upwards, and transfer them onto a large sheet of parchment paper that will comfortably fit onto your baking stone or baking sheet. Make sure that they're evenly spaced apart and not touching. (Ciabatta bread is known for its crusty, flour-streaked exterior, so don’t be tempted to brush off any of the excess flour.)
- Lightly cover the ciabatta rolls with plastic wrap (to prevent them from drying out) and proof in a warm spot until doubled in size, this should take 1-2 hours. I placed mine in the oven (that was completely turned off with a measuring cup filled with boiling water). This creates a warm, slightly humid proofing environment.
Baking
- Preheat the oven to 475ºF. Make sure your oven is thoroughly preheated. To do this, start preheating after your rolls have been proofing for about 15 minutes.
- Place a baking stone or a heavy-duty baking sheet (I used a baking sheet) turned upside-down on the middle oven rack and a cast iron skillet or metal baking tray (not glass!) on the bottom of the oven. (Since you'll be adding ice cubes to the hot baking tray on the bottom of your oven to generate steam, it will experience a huge temperature change that could shatter a glass pan. Cast iron is best, but a metal baking tray also works great.)
- Once your rolls have doubled in size, you will bake them. Three actions need to happen quickly and almost simultaneously… 1) slide the rolls (along with the parchment/baking paper) onto the very hot baking stone or baking sheet, 2) place 5-6 ice cubes into the bottom skillet or baking tray to create steam and close the oven door, and 3) immediately reduce the oven temperature to 425ºF.
- Bake the ciabatta rolls with the steam from the ice cubes for 10 minutes. Don’t open the oven door during this time.
- After the 10 minutes, open the oven door to let out the steam and remove the bottom skillet or baking tray. Close the oven, keep the oven temperature at 425ºF and bake for 15 minutes longer until the rolls are deep golden brown.
- Remove the ciabatta rolls from the oven and cool them on a wire rack. Allow rolls to cool completely before cutting into them. Otherwise the interiors will still be sticky.
- Once the rolls are cooled, begin making your breakfast/lunch sandwiches or serve them with olive oil seasoned with kosher salt and freshly ground pepper. Adding fresh garlic, herbs, and some parmesan to the olive oil would also be delish.
Notes
These gluten free ciabatta rolls are best when eaten on the day of baking. However, they will stay fresh for 3-4 days if place in a closed container. Reheat them briefly before serving and eating. You can reheat them either in a 350ºF oven for 6-8 minutes or toast them in a toaster.
Recipe from The Loopy Whisk.
If you like this recipe, you may also like these other GFchow recipes. Homemade Brazilian Mini Cheese Rolls, Light and Fluffy Gluten Free Biscuits, and Browned Butter Banana Bread with Chocolate Chips.
GLUTEN FREE DISCLAIMER
The recipes you find here are considered by me to be gluten free. However, it is up to you to make sure the ingredients you use are gluten free. Whenever possible, I will list specific brands of ingredients that I use, but always be sure to check the labels yourself to verify the item is gluten free.